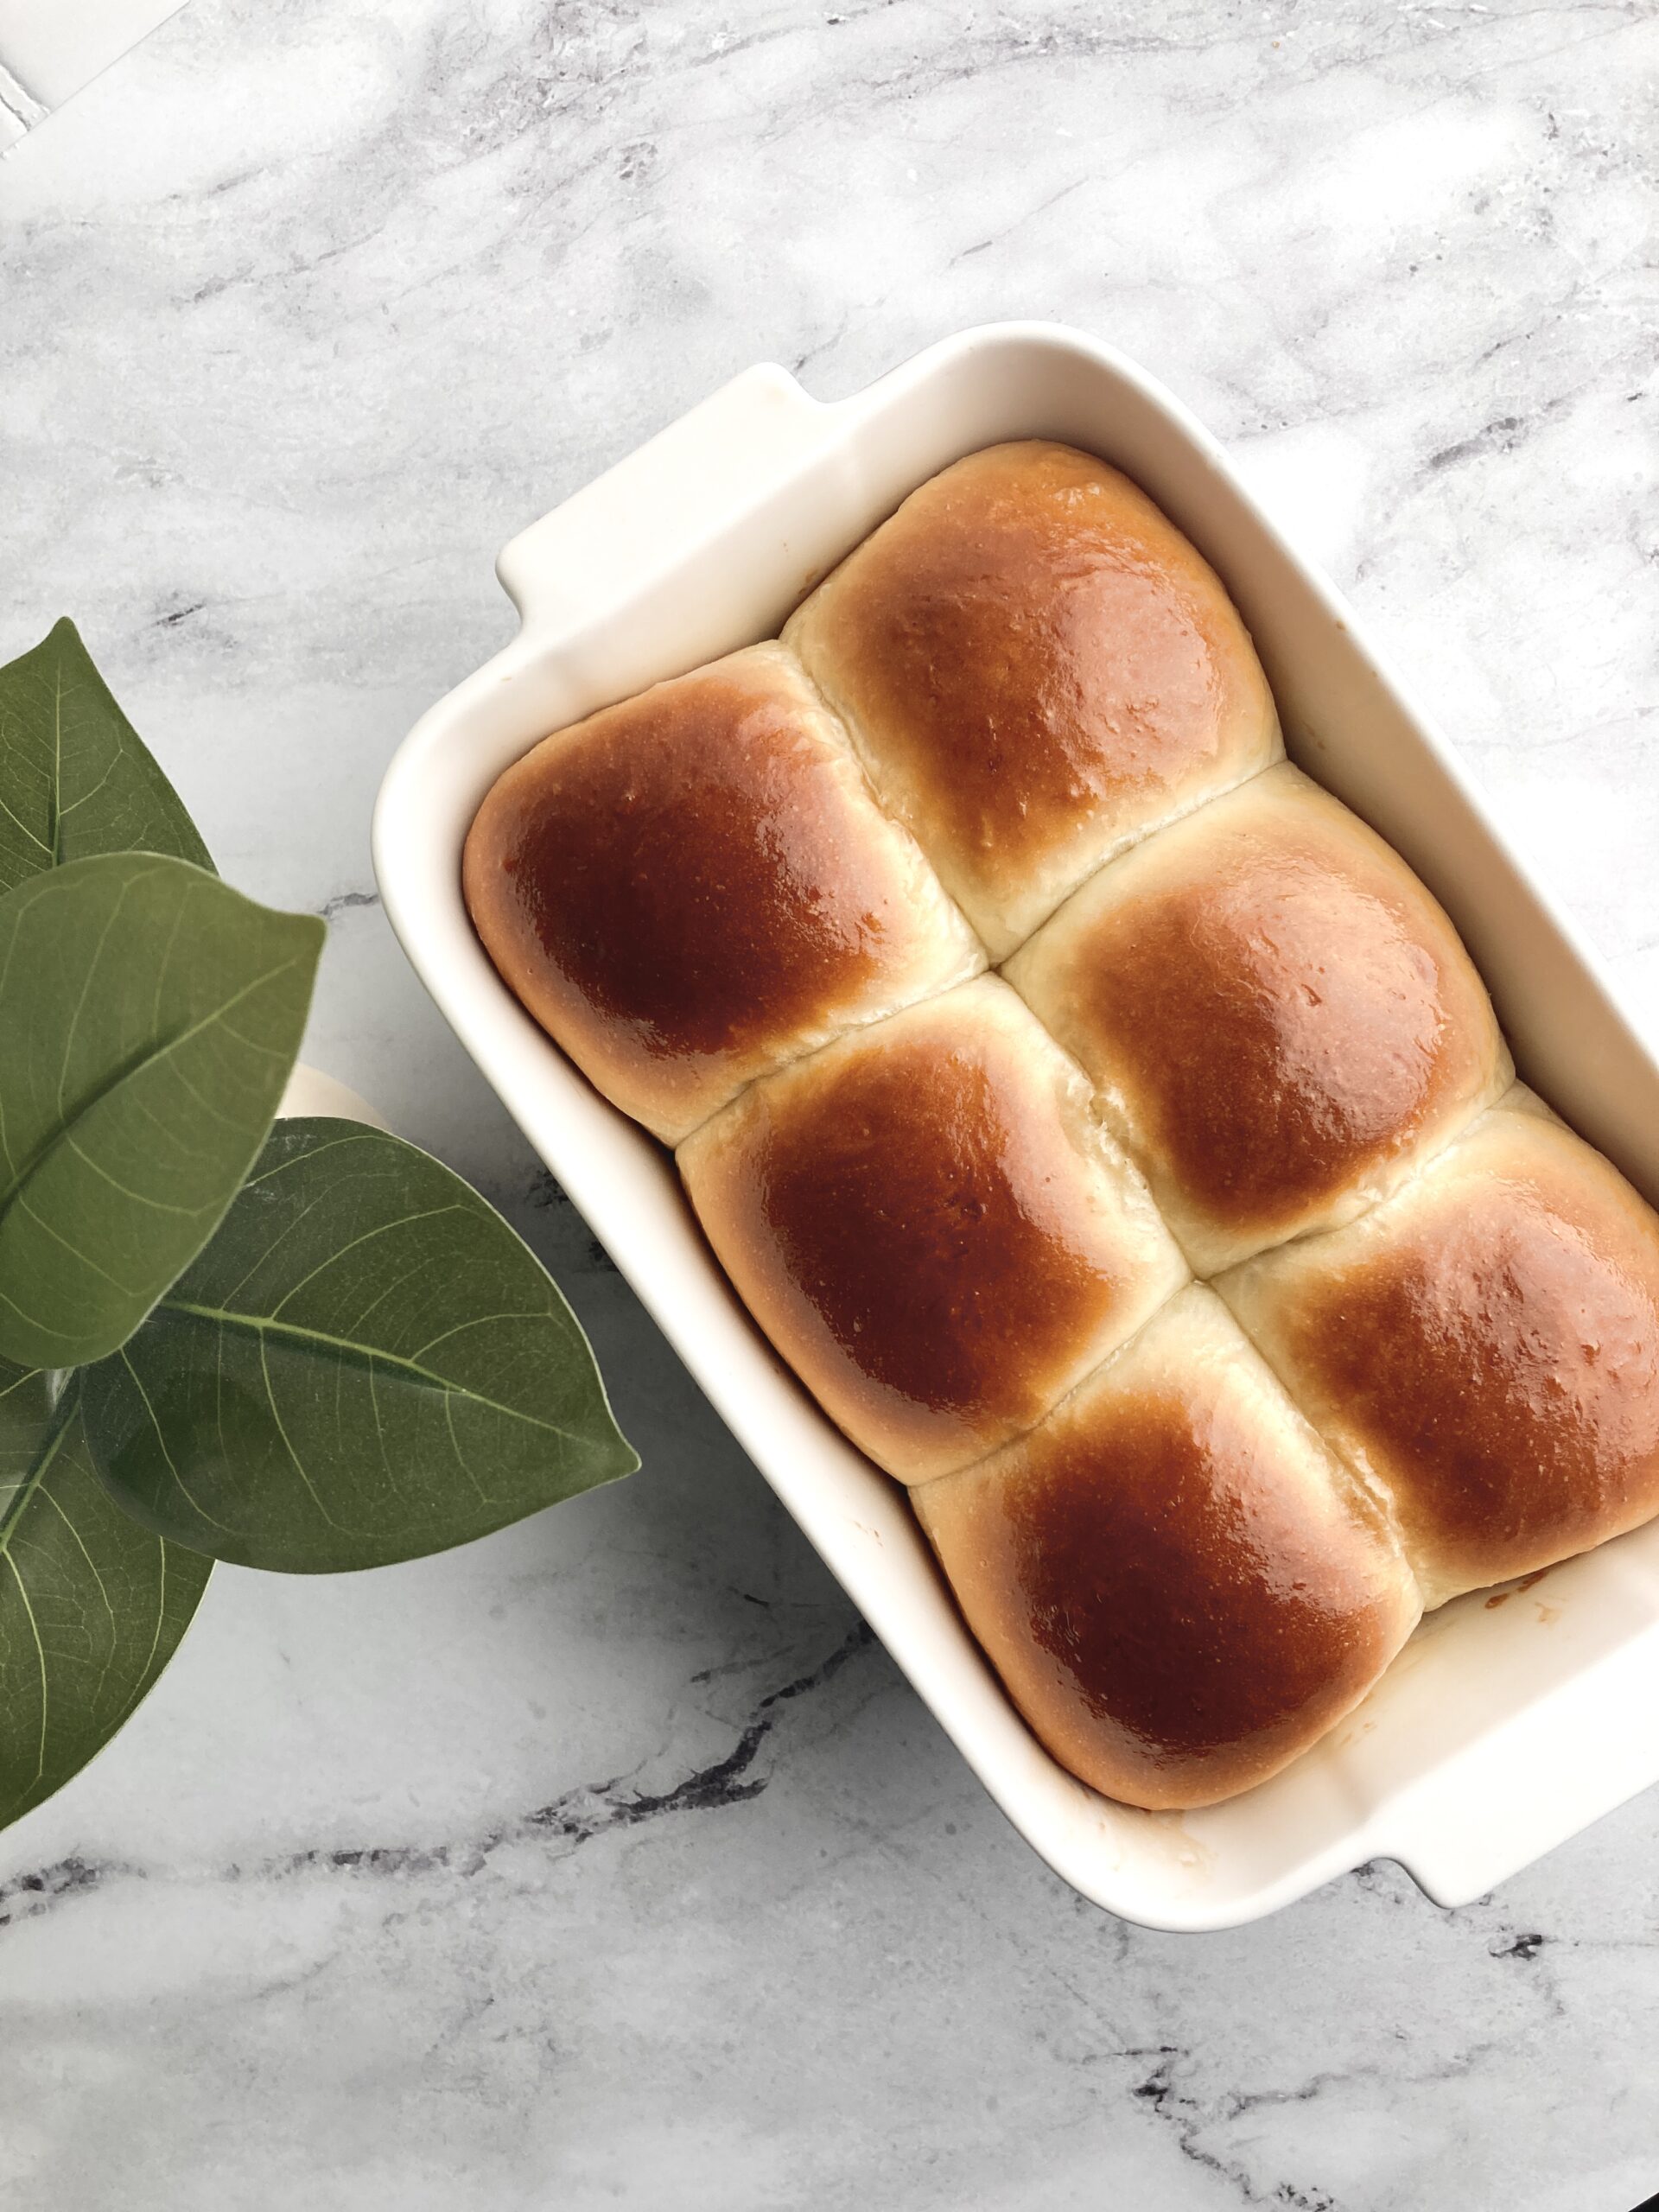
Perfect Vanilla Sponge Cake
Every baker has their own version of that go-to vanilla cake that they use for almost everything.
I’d like to share with you mine.
Not your average vanilla cake
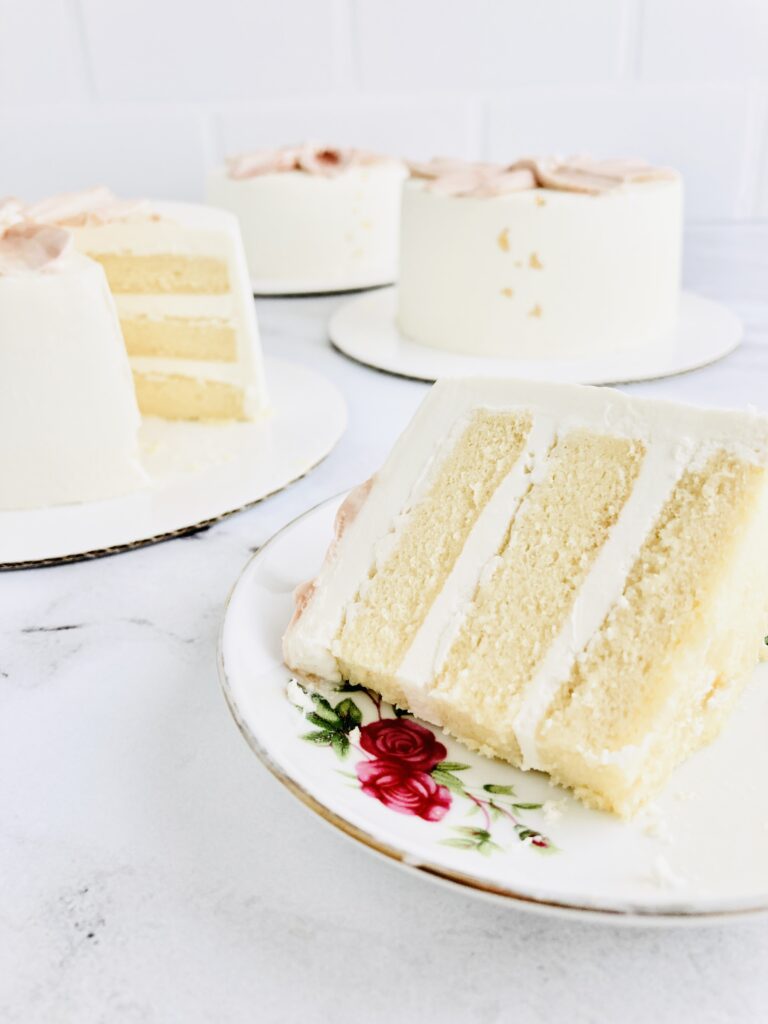
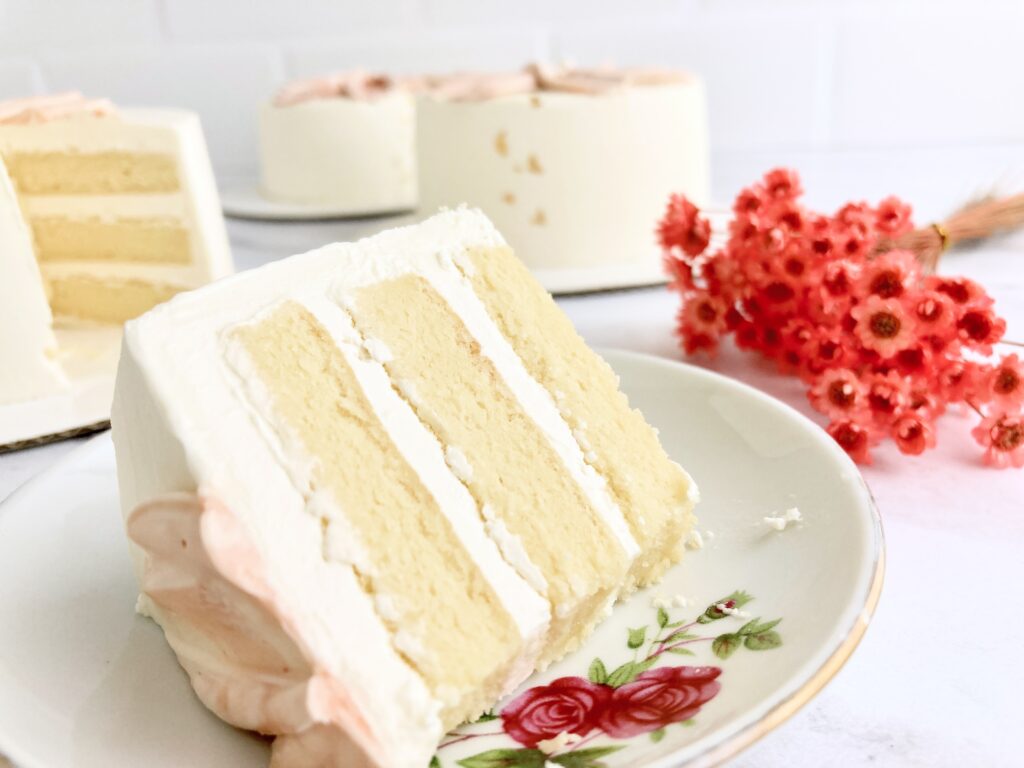
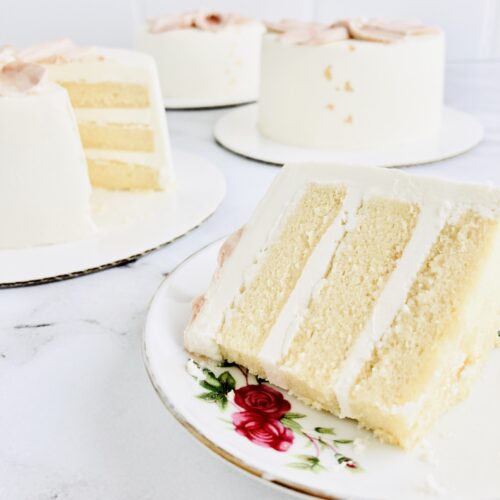
This is one of the lightest and softest cakes you’ll ever taste. It literally melts in your mouth thanks to its delicate sponge-like qualities. For years, I’ve been on the hunt to create the perfect vanilla cake, that- to me – is both superior in texture and flavor. I wanted it to be strong enough to hold up to my favorite Italian Meringue Buttercream, yet be totally soft and delicate enough that it wouldn’t take away from the joyful simplicity of fresh fruits and your basic whipped Chantilly cream.
I wanted a cake that was both delicious and versatile enough to be used for weddings, showers, and gifts…
Why sponge cake?
In an ordinary world, an ordinary baker would never, ever pair buttercream with sponge cake. Classic sponge cake was made to be paired with delicate creams, like whipped cream and ganache, to match its super soft texture. It’s called sponge cake because of its wonderful ability to soak up the flavor of fresh fruits and jams just like a sponge, and that is truly where a sponge cake shines.
Sponge cakes are also notoriously known for drying out. Your typical genoise will dry a lot faster than your average butter cake, especially if it’s not soaked in a simple syrup or fruit jam.
But I simply prefer the soft texture of a sponge cake over regular cake.
These two questions made all the difference
- What if the drying-out factor could be avoided?
- What if a sponge cake could hold up to a buttercream and still taste incredible?
As a cake snob, those two things are exactly what I worked tirelessly to overcome. Testing and failing and testing again. Then, finally…
The perfect vanilla sponge cake was born!
This cake, when baked correctly, will not dry out
That’s right. It’s going to stay soft and melt-in-your mouth from the moment it’s baked, filled, frosted, and beyond. I’ve never eaten a cloud before, but I imagine it must be somewhat like eating this cake. The dreamy, fluffy, cloud-like texture of it is something you have to taste to believe.
It’s one of those things that really could change the way you eat cake forever.
It can hold up to buttercream
Though there is a caveat. Specifically, it can hold up to my favorite Vanilla bean Italian meringue buttercream, and (though I’ve not yet tested it) I believe it would hold up to a whipped cream cheese frosting as well. The reason it works with my Italian buttercream is due to the super light nature of the cream, thanks to its meringue-base. The sponge cake actually compliments the buttercream in a truly magical way. I would not, however, recommend using American buttercream, or any other cream that’s been heavily bogged down with sugar.
Now, before we get started…
There’s a few important things to note
- Don’t skip the simple syrup.
- It’s true that the cake won’t dry as easily as traditional genoise, but it will still dry out eventually nonetheless. A simple syrup will help preserve that moisture for longer. The one exception being if you’re using a jam filling in between the layers. But even then, it doesn’t hurt! 😉
- Please don’t skip the water bath.
- Yes, this extra step makes aaaaaall the difference in creating a super soft and moist sponge cake. It will bake up significantly drier if you skip it. A water bath might seem like a tedious or even complicated extra step, but trust me, it’s SUPER easy and very much worth it.
- The recipe below has been written with mini cakes in mind.
- You can certainly prepare the cake to be baked in a 6in pan. Just swap out the 9×13 pan for a 6in cake tin and torte it instead of using biscuit cutters.
- Freeze the cake if making in advance.
- Freezing the cake, either whole or as individual cake layers will preserve the moisture for future use. I recommend double-wrapping it tightly in plastic wrap and foil before placing it in the freezer. If using the next day, you can simply double-wrap it in plastic wrap and place in the fridge until ready to assemble. Please avoid leaving it in the fridge for more than 2 days, as it will begin to dry out.
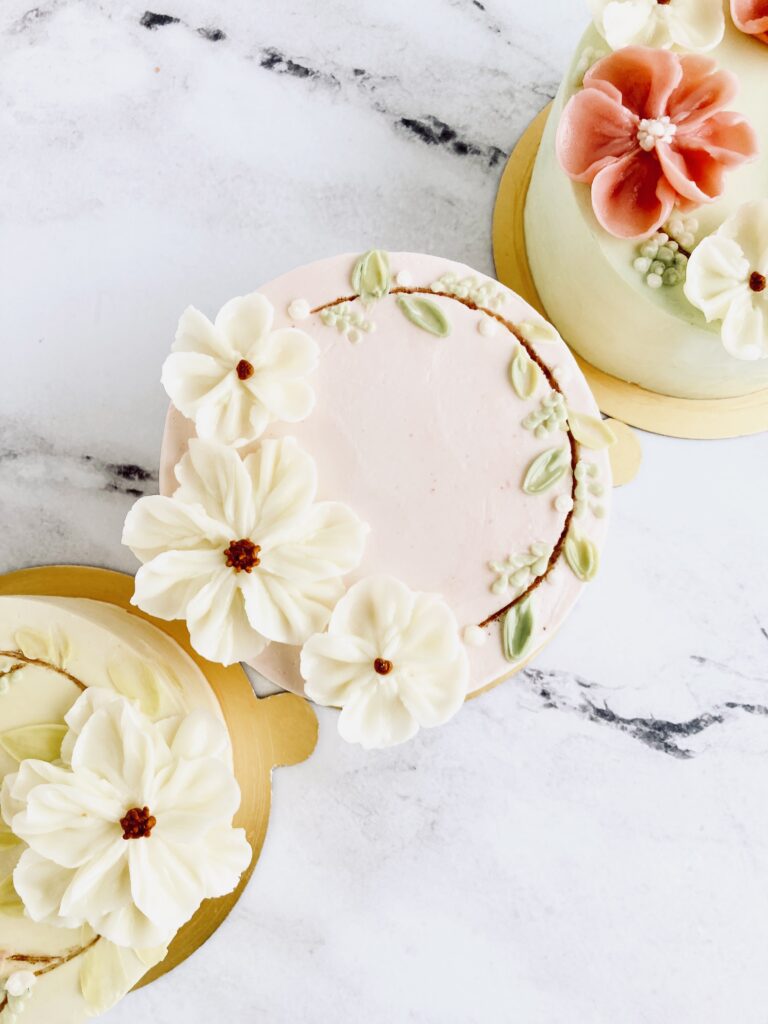
Hospitality Rating *****
This cake gets a full five stars as it can be prepared for basically any occasion imaginable!
Birthdays, weddings, showers, and gifts: are all great uses!
– Just be sure to choose a cream and filling that will be appropriate for the type of event. For example, If made using fresh berries and Chantilly cream, leave the cake in the fridge until just before serving.
If being made as a gift: I’d recommend following the guides in my Bento Cakes post.
– Stick with a sturdy meringue-based buttercream unless you know for a fact that your recipient will be refrigerating the cake ASAP.
Perfect Vanilla Sponge Cake
Equipment
- 1 Stand mixer
- 1 Large balloon whisk
- 1 Large Glass Bowl
- 1 Spatula
Ingredients
- 4 Eggs
- 85g (3/4 cup) Cake Flour Can sub 60g pastry flour
- 2g (1tbsp) Cornstarch
- 50ml (3tbsp+1tsp) Light-tasting Oil I use olive
- 45ml (3tbsp) Whole milk
- 80g (1/3 cup) Granulated sugar
- 1 tbsp Vanilla extract Or bean paste
- 1 tsp Honey
Instructions
Cake
- Preheat the oven to 320f and prep a 9×13 pan with parchment paper. Make sure the sheet goes up the sides to prevent sticking. This will make for easier transfer later.
- Heat oil to 176f, then pour in a large (preferably glass) bowl.
- Sift flour and cornstarch into the bowl with the oil, whisking until smooth.
- Add warmed milk, vanilla extract, honey, and salt to the flour and oil mixture, stirring until combined. It will look separated and clumpy. That's okay. Cover with plastic wrap and set aside.
- Place whole eggs in the bowl of a stand mixer with 80g sugar. Set the bowl on the stovetop over a double boiler (bain-marie) and whisk the eggs and sugar together until the temperature of the eggs reaches around 107f.
- Transfer to the stand mixer fitted with the whisk attachment and whip the eggs on high speed (level 10 on an artisan mixer) for about 4-5 minutes. The eggs will pail and double in volume. Test for doneness by lifting the whisk out of the batter. The whipped eggs should fall slowly from the whisk and you should be able to draw lines in the batter without them immediately disappearing. *If the batter falls quickly and disappears immediately, the eggs have been over-whipped. You may need to start over. 🙁
- Add 1/3 of the egg yolk mixture into the warmed milk mixture and whisk until combined. No need to be gentle. We don't want any lumps!
- Add the rest of the yolk mixture to the glass bowl. Whisk out any lumps in the beginning, then, once smooth, start gently folding the mixture until it reaches the ribbon stage. The batter should be golden pale in color and fall quickly from the spatula, disappearing into the rest of the batter within seconds.
- Hold the bowl at least a foot above the parchment lined 9×13 pan and pour the batter into it. (This helps with air bubbles) Lift and tilt the pan to fill in the corners. Then, drop it onto the counter a few times to pop out any big air bubbles. (You can also smack the bottom of the pan with your hand.) Immediately place the cake onto a larger baking sheet and slide it into the oven, filling the larger sheet with about 6 ounces of hot (not boiling) water. You are going to bake the cake in a water bath for 25-30 minutes or until the sponge springs back when touched. Do not open the oven within the first 10-15 minutes or the cake will deflate!
- Once out of the oven, leave the cake in the pan to cool for about 5 minutes. Then place a sheet of parchment paper over the top of the cake and invert it, peeling the once-bottom sheet off from the top.
- Use a 4in round biscuit/cookie cutter to cut out 6 circles. It'll be tight, but you should be able to cut them all out. Combine two halves to make a full circle if necessary. Wrap each individual cake round in plastic wrap and place in the fridge while you prepare your cream/filling of choice.
- Cake rounds can be stored in the freezer for several months if double-wrapped tightly in plastic wrap, then wrapped again in foil. Alternatively, you can double wrap in plastic wrap, then place in a freezer-safe bag.