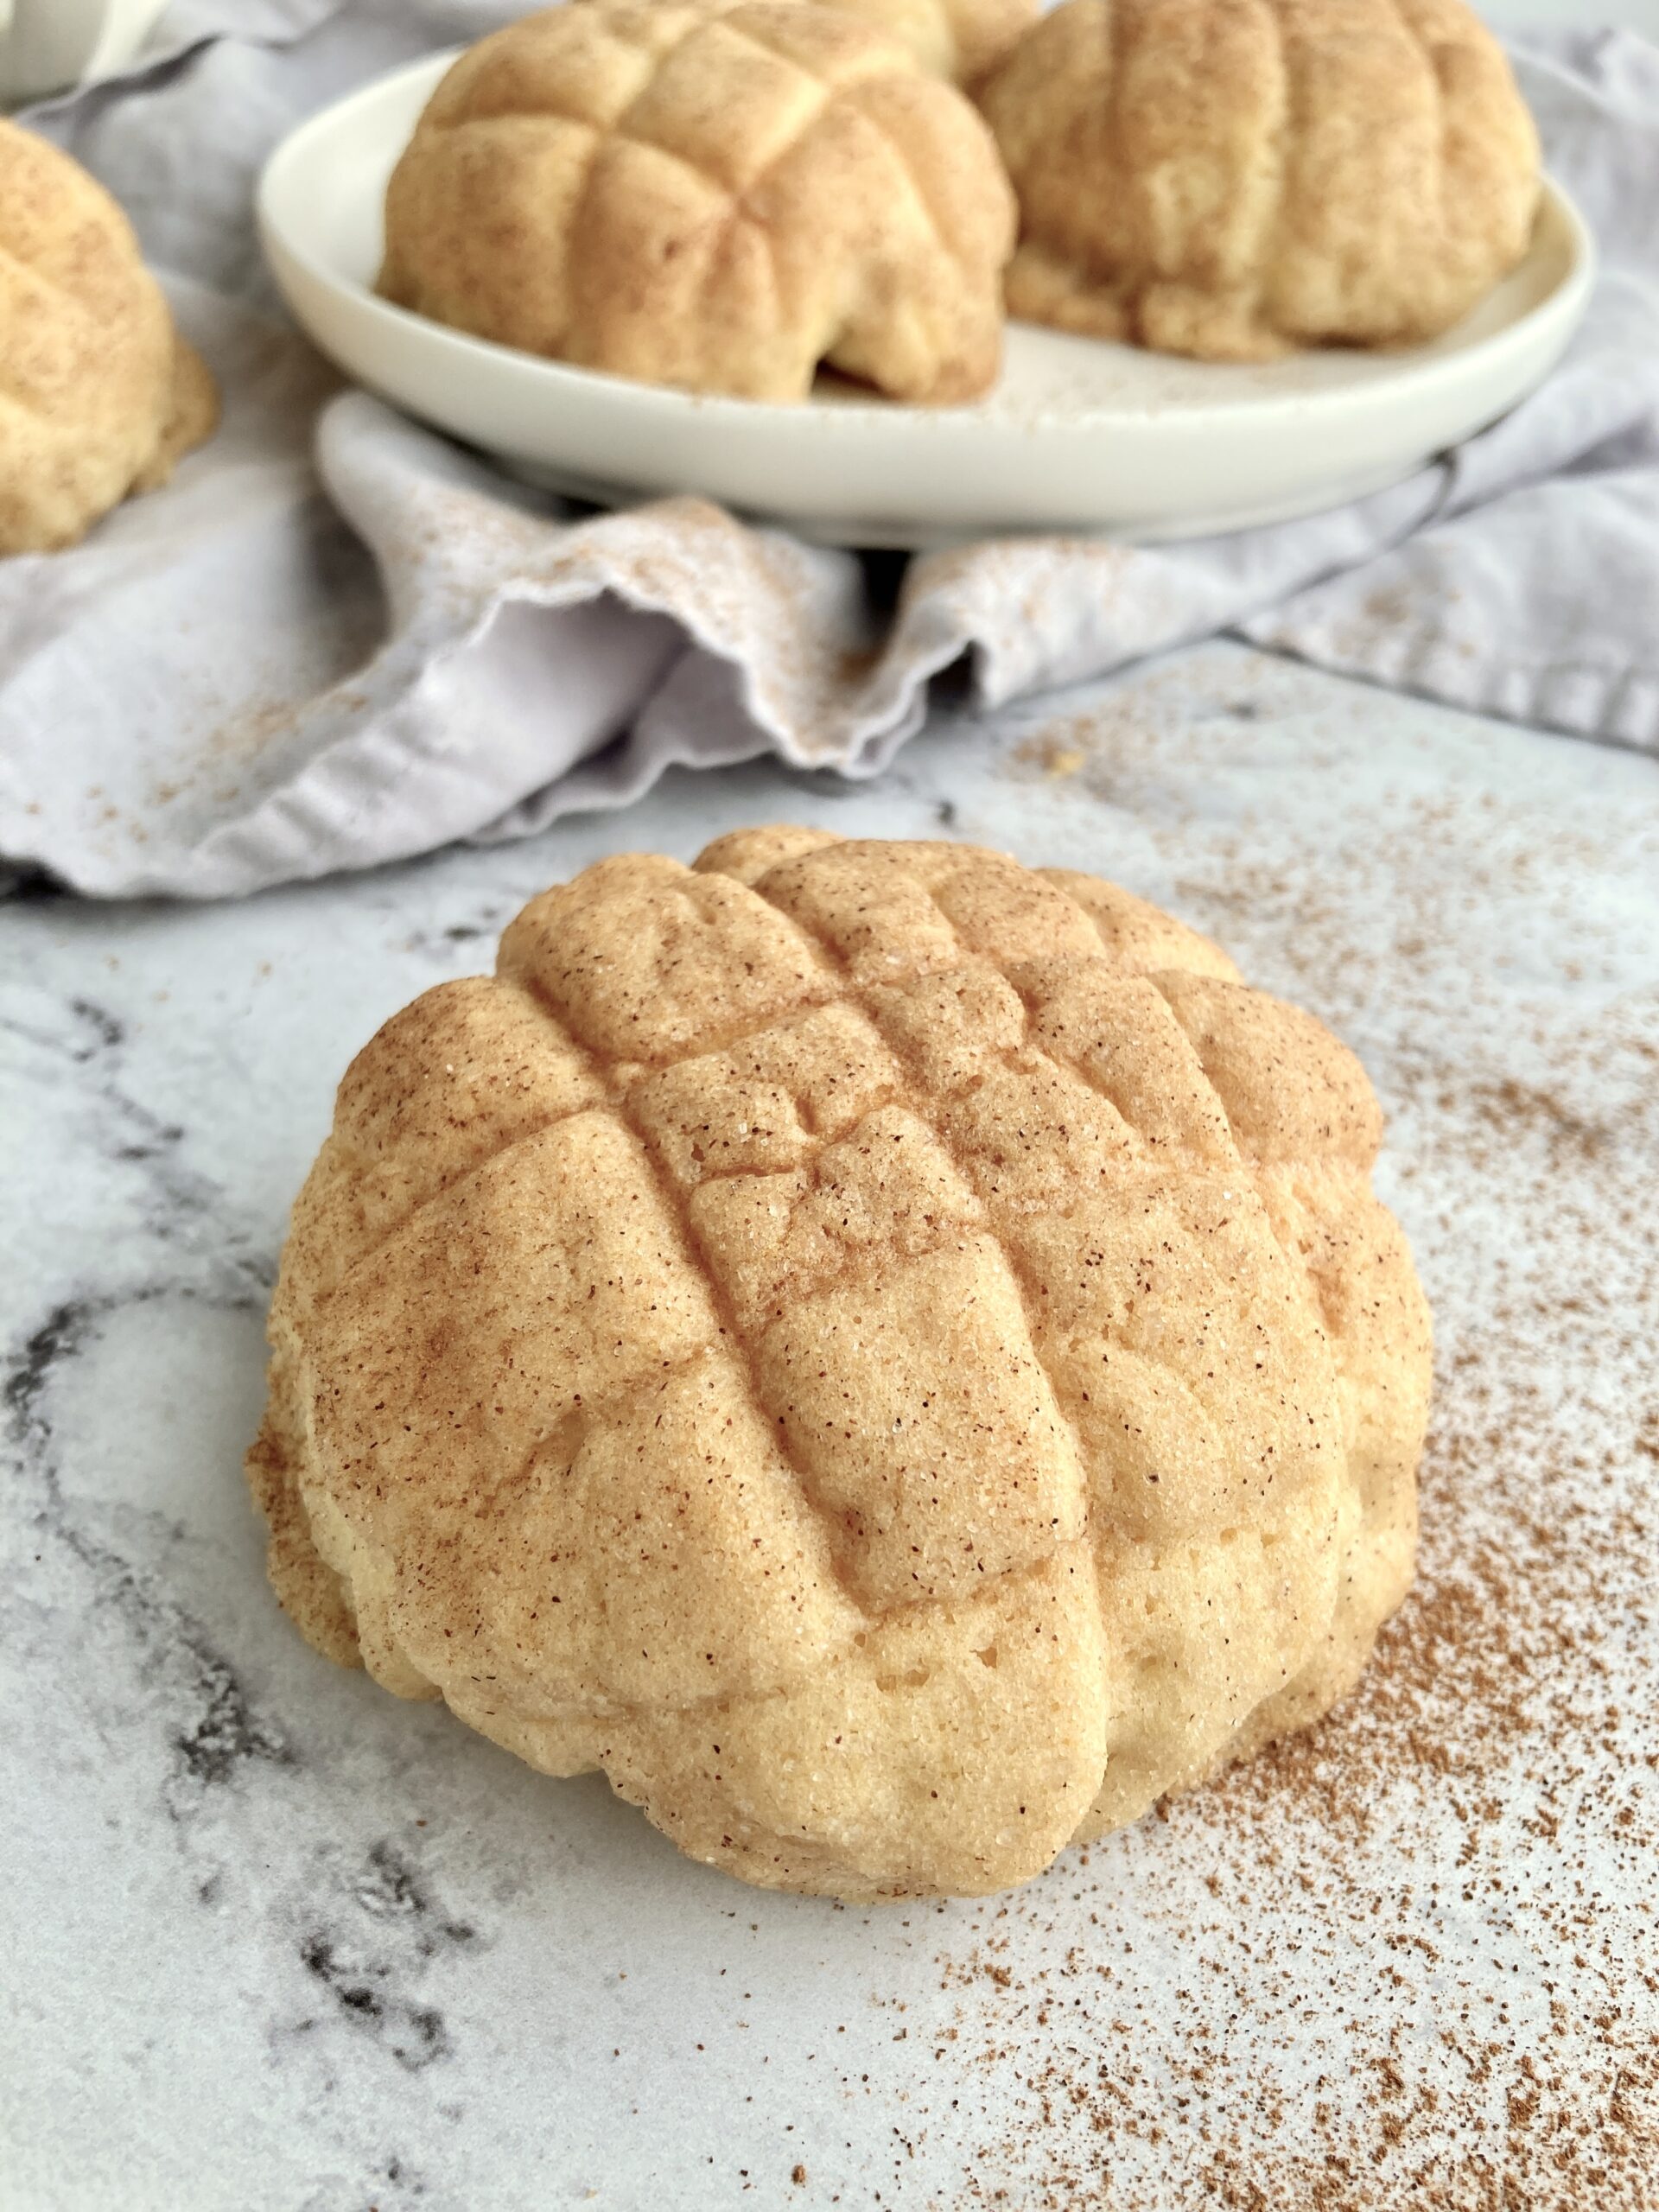
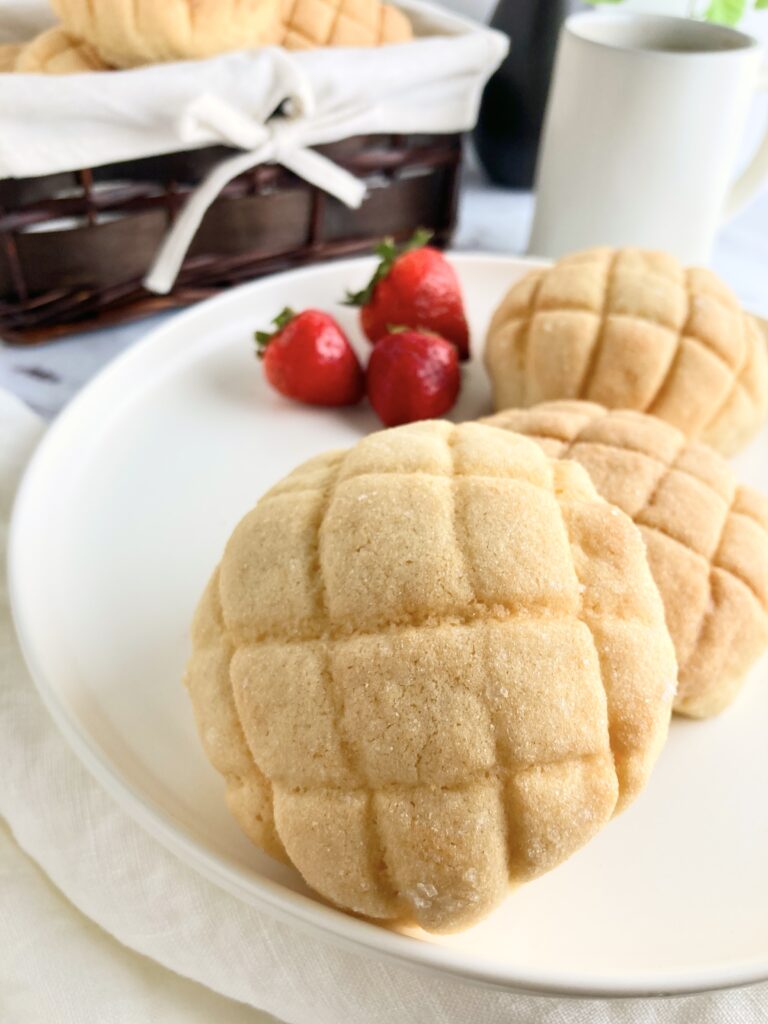
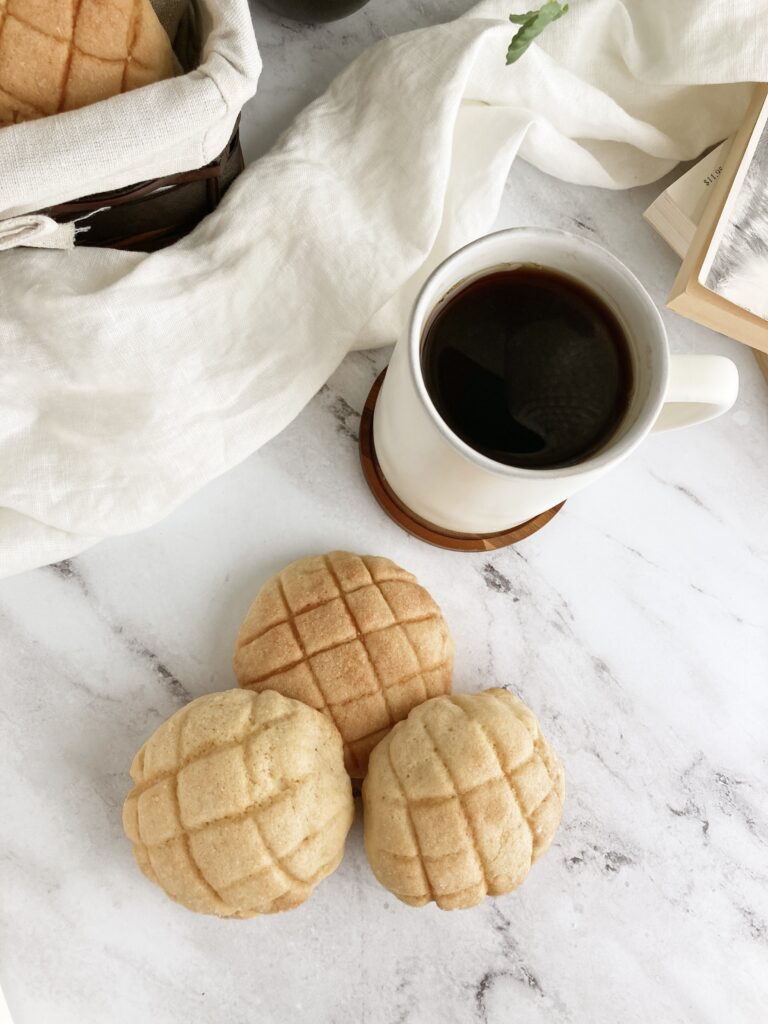
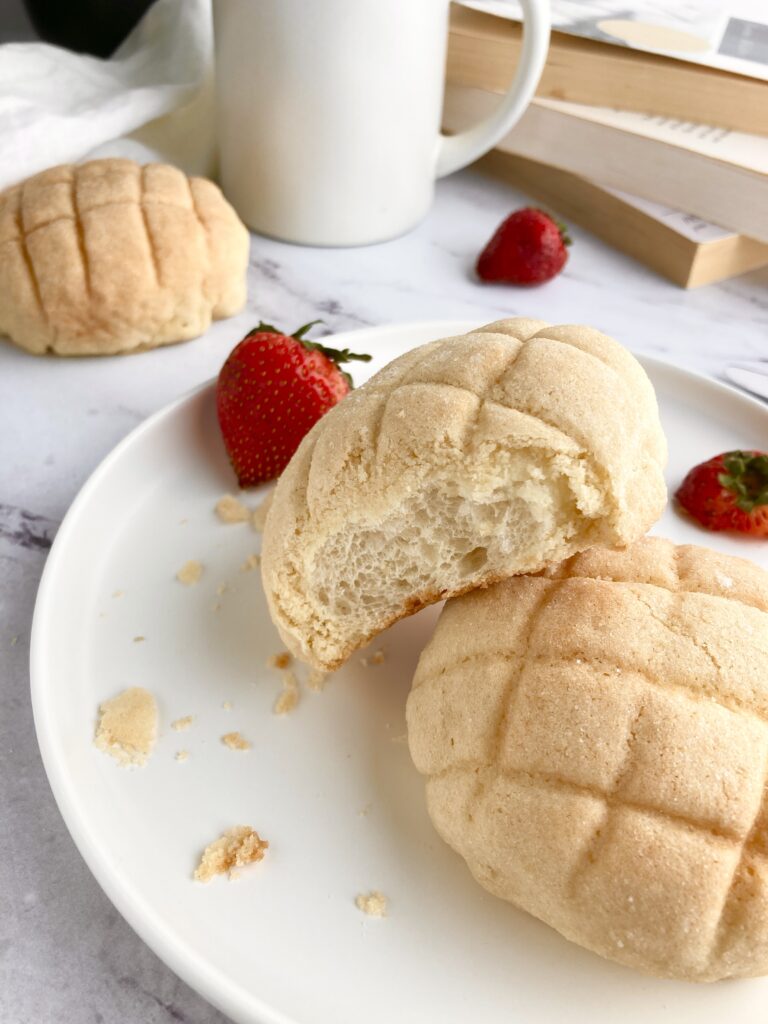
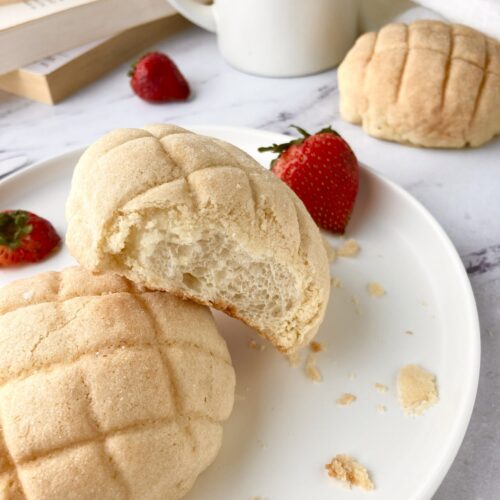
Classic Melon Pan
What the heck is melon pan? Only the most delicious sweet bread ever to be baked into existence. The word ‘pan’ is Japanese for bread. If you’ve ever had Mexican conchas, these are very similar! Made with a super light and fluffy milk bun base and topped with a crunchy crackly outer cookie shell.
It’s bread heaven.
Melon pan is not actually made with melon.
Although it can be! In Japan, I’ve been told they sometimes cut the sweet bread lengthwise and serve and fill it with melon flavored ice cream. (Yum!) But as far as the bread being made with actual melons…it’s not. I’ve heard a theory that it gets its name from the crisscross pattern that’s usually scored into the top of the cookie shell. Which can, in a way, resemble the fleshy part of a melon when cut into crisscross squares.
It’s really not hard to make.
Melon pan is fairly easy once you’ve got milk buns down. It’s just one extra step.
Once you’ve finished the first proof, you’ll separate the dough ball into 12 equal portions, roll and shape each of those into balls, then boom! Time for the cookie crust.
*Note: If you’re low on time (as I often am) you can place the dough balls on a tray and leave them covered in the fridge. The cold from the fridge will keep the dough from proofing any further, giving you up to a day or two to make your cookie crust and finish the melon pan 🙂
The cookie crust
It’s just like making cookie dough! Once you’ve made your base following the recipe below, Here’s how to get it onto your dough balls with little to no effort!
- Divide the dough into 12 equal portions. (You just need enough to cover the top of the bread dough. You’ll be left with excess.)
- Roll the cookie dough portions into small balls, then place those balls on a tray and leave them covered in the fridge until cold.
- When you’re ready to assemble the melon pan, cut a piece of plastic wrap and place it on your workstation. Put one of your cookie dough balls on the plastic wrap. Place a sheet of parchment paper over the dough, then roll it out with a rolling pin into a circular disk. Peel back the parchment.
- Place one of your bread dough balls on top of the rolled out cookie dough, then use the plastic wrap underneath to adhere the cookie dough to the bread. (Imagine putting a golf ball in a sock and enclosing the sock around it.) Press it together as best you can, then peel off the plastic to reveal your first melon pan ball. Patch it up with excess cookie dough if needed.
- Dip the ball in a sugar topping of your choice, then use a plastic bench scraper or the back of a knife to gently score the top of the melon pan however you’d like.
- Set aside and repeat!
Hospitality rating: **
Lower on the scale not because of deliciousness, but because of versatility.
My recommended uses:
– Potlucks: Melon pan would make a lovely addition to any breakfast or brunch event. It could also double as a light dessert.
– Tea parties: Inviting a friend over for a mid-morning chat? Serve up some tea and melon pan. Totally delicious without being overpowering.
Of course if you’ve got a friend that looooooves bread and sweets, this might make a great gift.
Mini Melon Pan
Ingredients
- 1 stick Unsalted butter Softened
- 1/2 cup White sugar
- 1 cup + 2tbsp AP flour
- 1/2 tsp Baking powder
- 1 Large egg
- Pinch Salt
Instructions
To make the outer cookie shell
- Place softened butter and sugar in a large bowl. Mix on medium speed with a hand mixer or stand mixer until the butter and sugar are combined. Then add the egg and mix well.
- In a separate bowl, whisk together the AP flour, baking powder, and salt.
- Pour the dry ingredients into the bowl with the wet ingredients and mix until your cookie dough starts to come together. It should be thick and easy to combine with your hands. Remove from the bowl and cut out twelve equal pieces from the dough. (If using a kitchen scale, 45g works well for twelve melon pan.)
- Roll each cookie dough segment into balls and place covered in the fridge until hardened. This can be done days in advance.
To make the melon pan
- Follow the recipe for Japanese Milk Buns until just after the first proof. (You should have a lightly oiled dough ball that is now doubled in size.)
- Scrape the dough out of the bowl onto a lightly floured surface and shape into a log. Cut 12 blobs of equal portion. Take one and flatten it with your hand until it forms a misshapen disk. Use the 'pull and pinch' method to stretch the surface of the blob, bringing each of its ends into the middle. Pinch to seal the dough together. You can turn the ball over and roll it into your palm to make it more circular. Set aside, and repeat with the remaining 11 dough balls.
- Cover all 12 dough balls loosely with plastic wrap and let sit to rest for 20 minutes.
- Meanwhile Remove a cookie dough ball from the fridge and place it on top of a sheet of plastic wrap, then place a sheet of parchment paper over the top of the ball. Roll it into a disk as best as you can using a rolling pin. You need it thin enough to wrap around the surface of the bread dough.
- Remove the parchment from off of the cookie dough and place one of the bread balls in the center of the dough. Carefully lift the plastic wrap from underneath the cookie dough and use it to shape the cookie dough around the bread ball. It does not need to cover the whole ball. Just about halfway.
- Remove the plastic wrap and roll the new cookie dough bread ball in a bowl of granulated sugar, making sure to fully coat the cookie dough. This will form the crackly outer "shell" of the melon pan. Use a dough scraper or the back of a knife to lightly score the shell in a crisscross pattern. Or pattern of your choosing!
- Place on a parchment lined cookie sheet and repeat.
- Once all the melon pan have been transferred to the cookie sheet, cover the whole tray with plastic wrap and let the dough sit someplace warm to continue proofing. The balls should be large and puffy. About 40 minutes.
- Remove the plastic wrap and place in a preheated oven at 350f for 12-15 minutes until lightly golden. the time will depend on how large you've made your melon pan. To check for doneness, tap the top of the shell with your fingernail. It should feel hard and have a slight hollow sound.
- Let your melon pan rest on the tray for at least 10 minutes before enjoying. To store, wait until completely cool, then place in an airtight container for up to 2-3 days. Melon pan is freshest on day 1, but will still be delicious!