
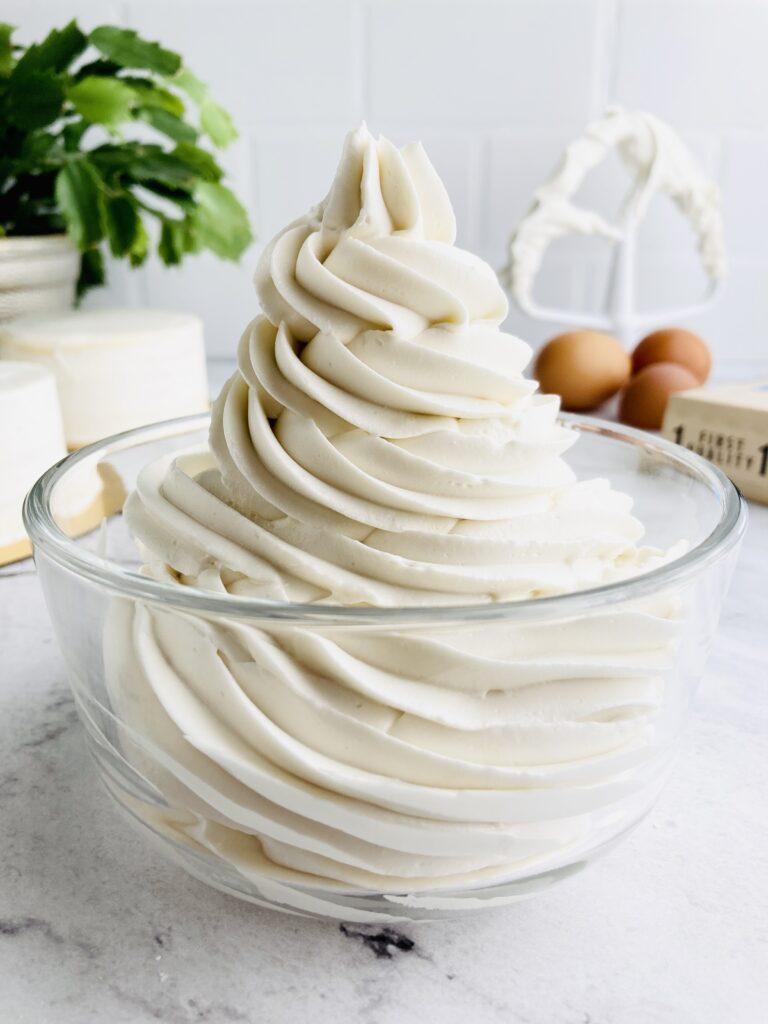
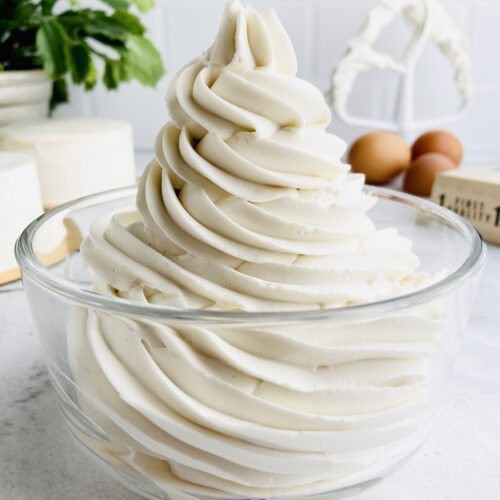
Vanilla Bean Italian Meringue Buttercream
Smooth, silky, delicious, gorgeous, and perfectly stable. No other buttercream compares to Italian Meringue Buttercream. This Vanilla Bean version is like eating the highest quality vanilla ice cream you’ve ever had. I promise you. Once you give this recipe a try, there will be no turning back. Friends and family won’t stop asking for it. Your own taste buds will beg you for more. You’ll want to cover cakes in it, fill macarons with it. Eat it by the spoonful. I won’t lie…
This buttercream is about to change your life.
Italian Meringue Buttercream (IMBC) is Known for Being Difficult
It’s nothing like making American buttercream. (For good reason) It’s not loaded with sugar. It doesn’t have that cloying sweetness or gritty texture that makes you want to scrape all the frosting right off the cake and into the trash. Something this heavenly is going to take time. It’s going to take effort. A little bit of practice. And I promise you it’ll be absolutely, completely, 100% worth it.

The Good News
I am including all my tips and tricks to help make this buttercream as foolproof for you as possible. I don’t think anyone should give up on making good buttercream. I want you to know that just about anything that could go wrong with making this recipe, can absolutely be fixed! So don’t be fooled into thinking that you’ve ruined your batch at any point. You didn’t waste all your butter. Your sugar syrup isn’t unfixable. And you absolutely do not have to throw the whole thing away!

Let’s dive right in…
Step #1
The first thing you will do is pour your sugar into a saucepan and cover it with water. The type of saucepan matters in the speed at which your sugar will dissolve. Stainless steel is going to get hot faster and has the potential to dissolve a lot sooner than if you’re using a nonstick pan. It’s also easier to brush the sides of your pan down with water if your sugar starts to stick. Therefore, I do recommend using stainless steel if you have it. But you can absolutely use a nonstick pan. And I’ll walk you through what to do if something goes “wrong” with both pans.
Step #2
You’re going to place the whites from six eggs in the bowl of a stand mixer. You’ve probably heard it said that if you get ANY bit of yolk in the whites whatsoever, they will never whip up. This is false. If you accidentally get a tiny bit of yolk in your whites, they will absolutely still whip up. This is contingent on how much yolk gets in your whites. A little bit isn’t going to show much of a difference. A lot will, but at that point, you’d be able to see enough of it to remove it. So, don’t fear. Adding the 1/4tsp of cream of tartar will also help stabilize your whites as you’re whipping.
Step #3
Start heating your water covered sugar. Once the pan starts getting hot, you may give the sugar a little stir with a spatula just to get it all evenly covered. After this, don’t touch it again or you will cause the sugar to crystalize. Your goal here is simply to get all the sugar to dissolve before you bring it to a hard boil. If it starts to gently simmer, this is fine. Just pick the pan up and gently swirl the water and sugar before placing it back over the heat. In fact, this will actually help it dissolve sooner and more evenly than if it was never swirled at all. If crystallization does occur, it is okay. You can simply add a few tablespoons of water to the pan, pick it up by the handle, and gently swirl it around like before. The extra water will actually help re-emulsify the sugar. Do this until it dissolves.
If sugar starts to stick to the sides of your stainless-steel pan, simply dip a pastry brush in warm water and brush the sugar off the sides. I don’t recommend this if using a nonstick pan. If there’s too much sugar gathering along the walls and crystalizing, simply add more water and swirl until it dissolves. If there’s just a tiny bit of sugar on the walls of the pan, just leave it. I’ll tell what to do in a second.
Step #4
This step may become optional depending on how much practice you have in making this buttercream. But this can totally save you from gritty meringue. If you’ve dissolved the sugar in the pan, and it looks nice and clear, but you’re just not sure if all the crystals have melted, take the pan off the heat and pour it through a super fine mesh strainer directly into a smaller saucepan. If you’re using a non-stick pan and little bits of sugar have collected on the walls as mentioned in the last step, don’t bother with them at all. Just pour the sugar syrup into the fine-mesh strainer directly into your smaller saucepan.
Step 5#
Put the smaller saucepan over the stove and bring the heat to medium-high. Use a candy, meat, or laser thermometer to keep track of the temperature. As soon as it reaches 230 degrees Fahrenheit, turn your stand mixer to medium-high and start whipping your egg whites with the whisk attachment.
Step #6
Keep an eye on your sugar syrup. As soon as it reaches 240 degrees, immediately remove it from the heat. If you started whipping exactly when your temperature reached 230, your whites should be at soft peaks and appear white and foamy with streaks trailing the whisk. This is the right consistency to pour in your sugar syrup.
Step #7
Very slowly and carefully, pour the sugar syrup into the whites, aiming for the spot right between the wall and the whisk. If it’s easier to run it down the side of the bowl, do that. But try your hardest to avoid the whisk or else boiling hot sugar could splatter. Once all the sugar has been slowly incorporated, turn your mixer speed to high and whisk until the bowl is no longer hot to the touch. A little bit of warmth is okay depending on the temperature of your butter. (We’ll get to that in a minute.) It could take anywhere from 10-13 minutes for the meringue to cool. Placing icepacks or frozen peas around the bowl can help reduce the time.
Step #8
While the Meringue is whipping, Get your butter ready. I recommend using European butter with 85% butterfat. If using this instead of, say, Kirkland Signature (nothing wrong with that btw) you should only need 3 sticks of butter. The cream will come out smoother because of the lesser amount of water. It’ll also be richer and more flavorful. My current favorite brand is Danish Creamery. But if Costco brand (or something similar) is all you have on hand, that will work too. You just may need to use 3 1/2 to 4 sticks of butter for better structure and stability.
If you’re aiming for the whitest buttercream possible, then I recommend aerating the butter first. Once it’s at room temperature, pour your vanilla paste or extract in with the butter and mix together with a hand mixer until light, pale, and fluffy.
If you don’t care about color, you can simply cut the butter into cubes and set aside.
Step #9
You’ve got two options here. Let the meringue cool down completely until the bowl is no longer warm to the touch. Or let the meringue stay just slightly warm and add in slightly cold butter. The warm and the cold will come together beautifully and make just the right consistency of buttercream. But you can also just let the meringue and the butter come to the same room temperature.
Whichever you choose, you will turn the mixer speed down to medium-low and add in the butter one tablespoon at a time, pausing to ensure each tablespoon is fully incorporated before adding in the next.
Step #10
Once all the butter is incorporated, turn the mixer speed to a high speed and mix, mix, mix. You’ll watch the buttercream come apart and look curdled and gross. Keep mixing and it’ll all come back together again. When it does, turn off the mixer, switch to the paddle attachment, and continue whipping at a lower speed until you achieve the silky, luscious, buttercream of your dreams.
If the meringue is too warm when you start incorporating the butter, there’s a chance the meringue will collapse, and the butter “cream” will look more like butter “soup.” Stop mixing at this point and put the whole bowl in the fridge for 30 minutes, or in the freezer for 10. It will firm up slightly. Mix it again, and it should all come together.
If the meringue is at room temperature, but the butter is too cold. The cream will “split” and look completely clumpy and separated. This too, is fixable. Just put a 1/4 of the butter “cream” in the microwave until it’s all turned to soup. The warmth from the butter will mix together beautifully with what’s left in the bowl. Don’t fret over however gross it might look. It’ll all come together. You can also let the mixer continue whipping while you aim a hairdryer, heat gun, or even a kitchen torch at the bowl. It’ll warm up the butter just enough for it to emulsify.
Storage
Italian meringue buttercream can be safely stored at room temperature for up to a day or two depending on how cool it is in your house. 66-72 degrees is generally fine. You can also place it in an airtight container covered with plastic wrap in the fridge for up to 2 weeks, and 6 months in the freezer. Simply let it come to room temperature first before rewhipping.
Frequently Asked Questions
- I strained the sugar syrup, but my buttercream STILL came out gritty in the end. Is there any way to fix it??
- Yes. Take a 1/4th of the gritty buttercream and either melt it over a double boiler (Bain Marie) or pop it in the microwave for a few seconds, checking it between intervals until it melts. Pour it back into the bowl with the rest of the buttercream and turn the mixer on the slowest speed. It will stir the cream just enough to melt and dissolve the crystalized sugar. Repeat this as many times as you need to achieve the consistency you’re looking for.
2. I think I poured the sugar syrup into the meringue too fast. The egg whites look scrambled. Is there a way to fix this?
- Sadly, no. This is the one issue I have no tips or tricks to fix. Once the whites scramble, there’s nothing that can be done besides start over. However, starting over at this stage is way better than figuring out you’ve got eggy bits in your finished buttercream. An easy way to tell if your whites are “shocked” after you’ve poured in the syrup, is to check the glossiness of the meringue. If it looks white, silky, and shiny, it’s on the right track. If the meringue looks matte, lumpy, and vaguely muted in color, it’s likely been shocked. You should probably start over.
Hospitality Rating *****
This buttercream is extremely stable and versatile, earning it a perfect score in hospitality as it…
– Doesn’t spoil easily.
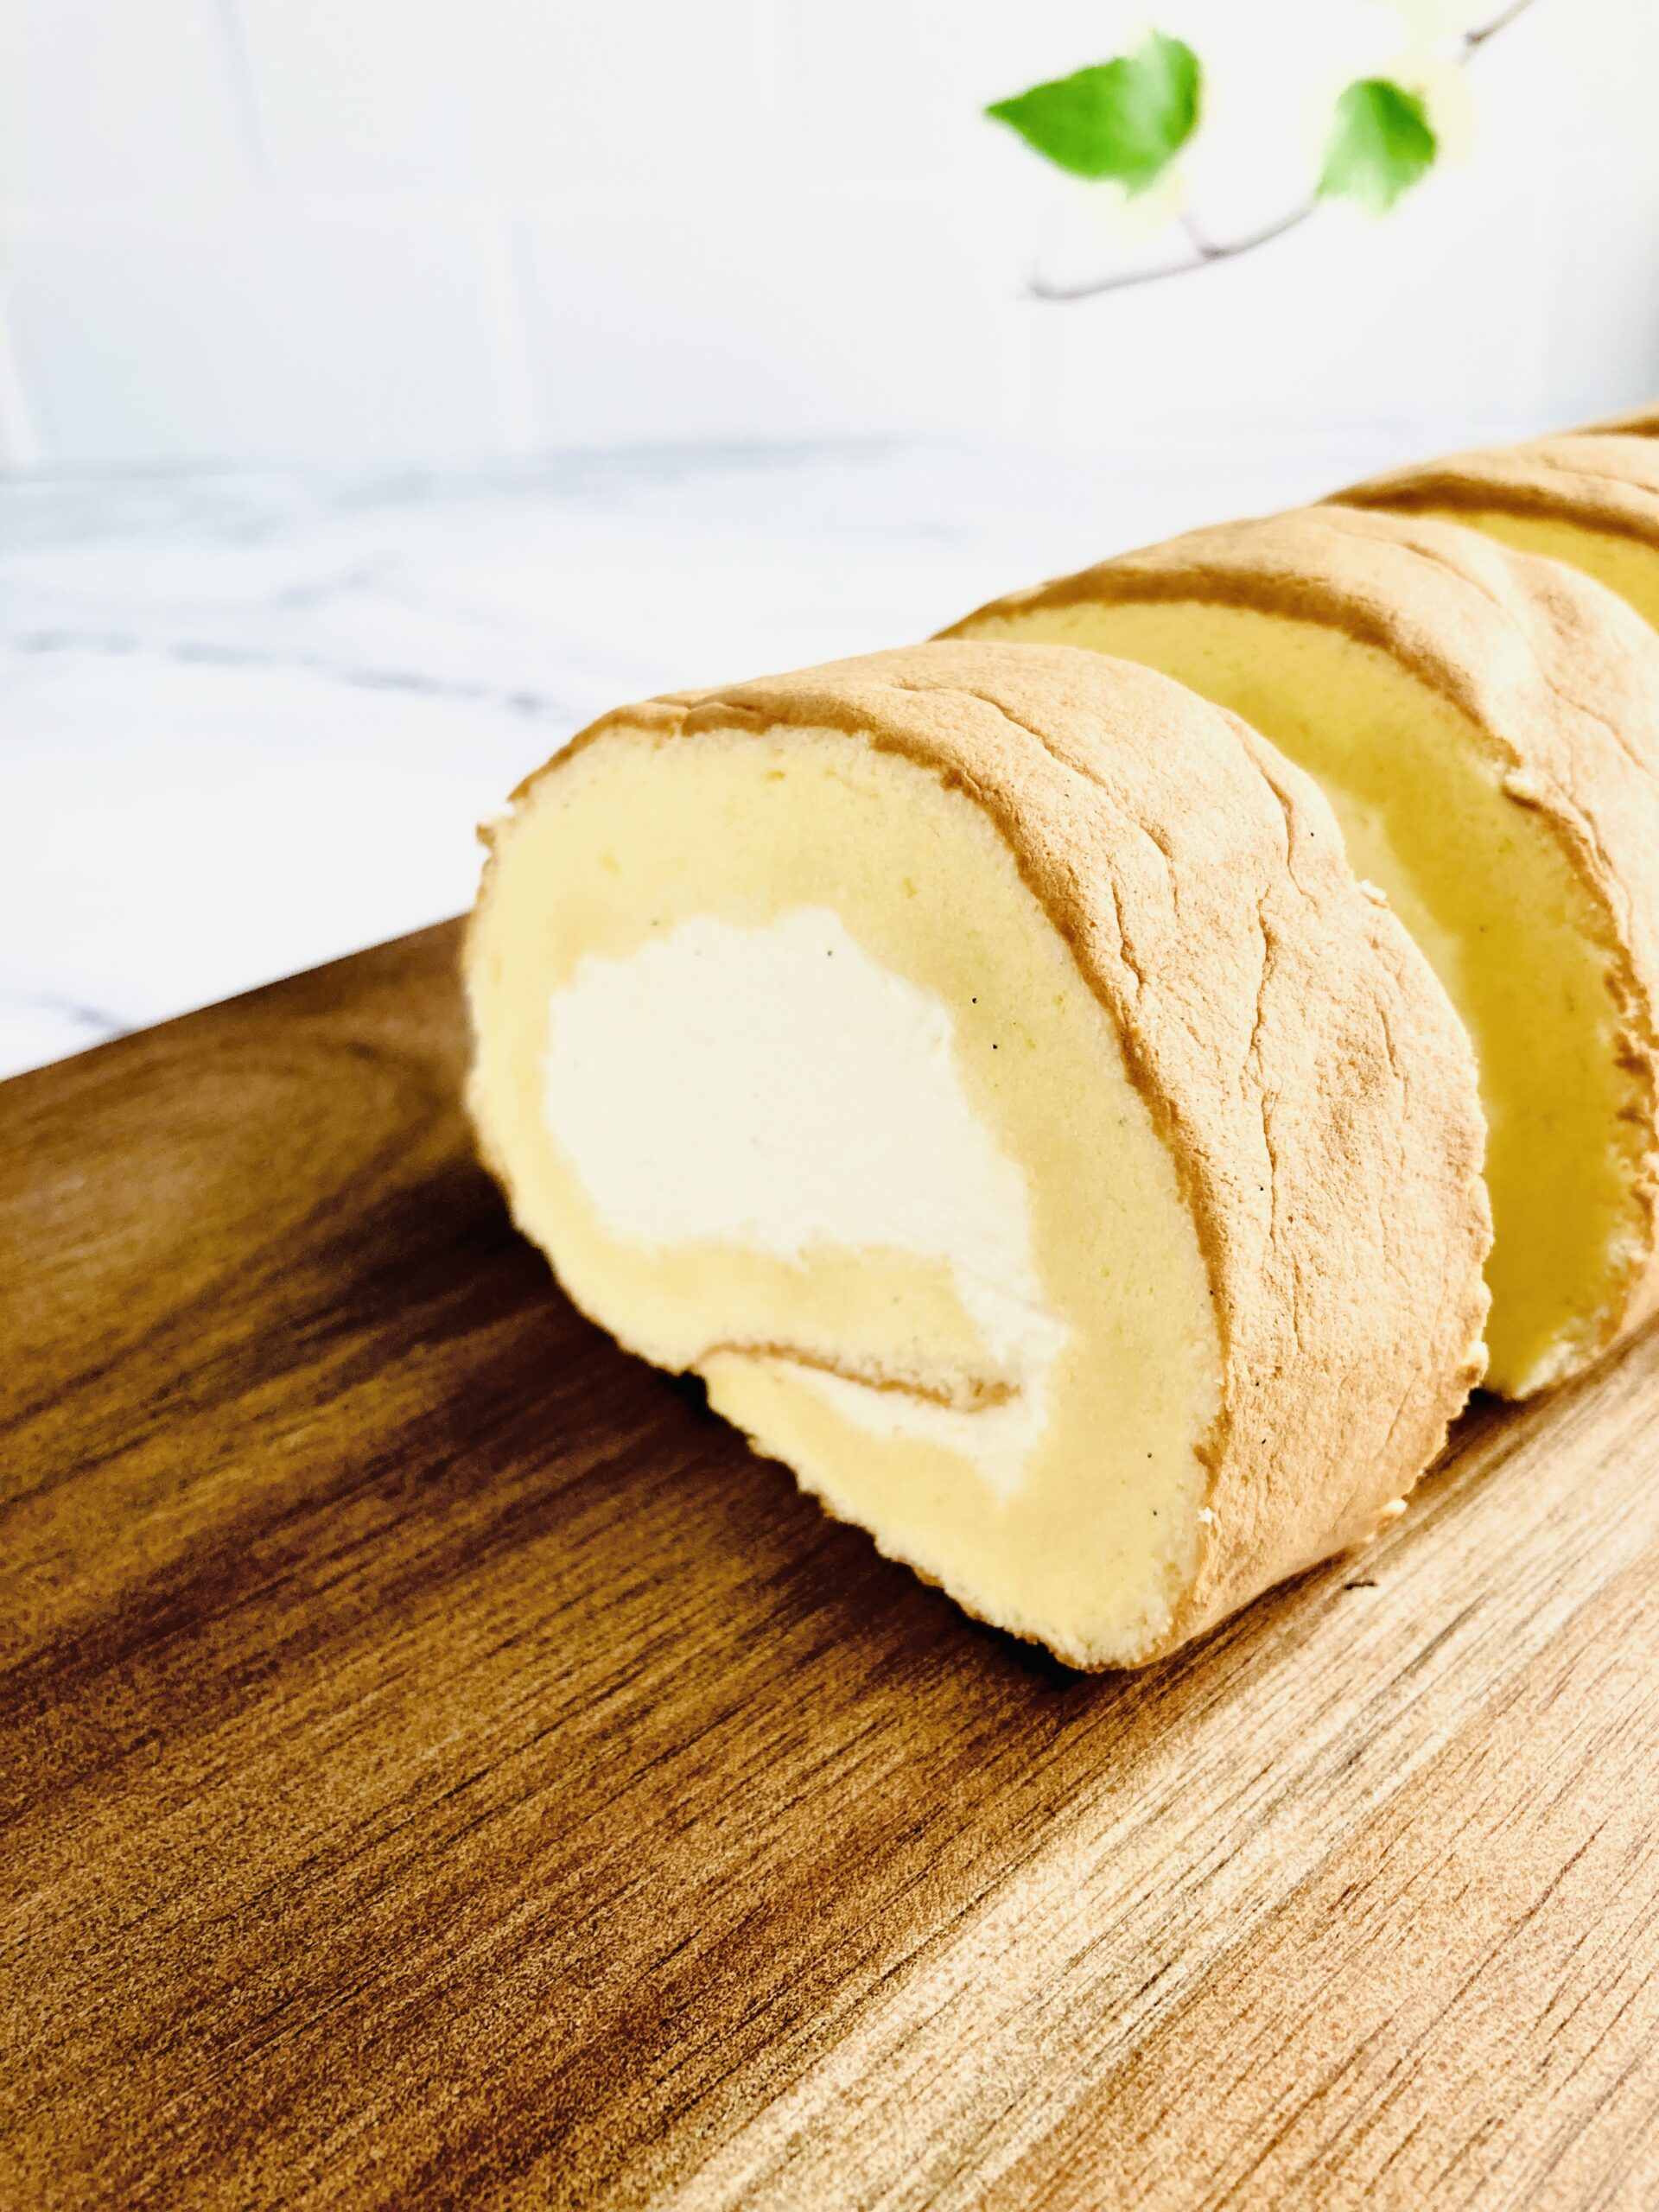
– Makes an incredible frosting/filling for cakes and macarons.
– Can be stored for long periods of time.
– Transfers easily.
– Doesn’t wilt in higher temperatures.
– Is super delicious.
Vanilla Bean Italian Meringue Buttercream
Equipment
- 1 Stand mixer
- 1 Medium saucepan
- 1 Spatula
- 1 Pastry brush
Ingredients
- 200g (6 eggs) Egg whites
- 1/4 tsp Cream of Tartar
- 250g (1 1/4 cup) Granulated sugar
- 80g (1/3 cup) Water
- 3 sticks Unsalted Butter 85% fat
- 1 tbsp Vanilla Bean Paste Or vanilla extract (use good quality!)
- 1 pinch Salt Add more to taste
Instructions
- Separate 6 egg whites from yolks, placing the whites in the bowl of a stand mixer with the 1/4 tsp cream of tartar.
- Pour 250g sugar in a medium saucepan, covering it completely in the 80g of water.
- Turn the stovetop to medium low and place the lid on the saucepan.
- Once the saucepan is hot, but not boiling, open the lid and give the sugar a quick little stir to help it dissolve better. Do not scrape any sugar off the sides! And do not touch it again after this.
- Turn the heat to low and let the sugar come to a gentle simmer. You'll notice the sugar dissolving as the water begins to evaporate. Between 1-minute intervals, carefully pick up the saucepan and swirl the water/sugar around the pan. *Remember that the sugar must be fully dissolved before bringing the sugar to a raging boil. Repeat the swirling process until all the sugar has dissolved.
- Strain the sugar syrup through a super fine mesh strainer into a smaller saucepan to catch any hidden undissolved sugar crystals. *This step can be omitted if you're confident that all the sugar has been dissolved.
- Turn the heat to medium high and let it come to a raging boil.
- Using a candy (or meat thermometer) check the temperature of the sugar. Once it reaches 230f, turn the stand mixer to medium speed and begin whipping the egg whites with the whisk attachment.
- As soon as the sugar reaches 240f, remove it from the heat.
- The whites should have reached soft peak stage by now. They should appear white and foamy with streaks all around the whisk. This is the perfect time to pour.
- Very carefully pour the sugar syrup into the bowl, taking caution to avoid the whisk. I like to aim for the spot between the whisk and the side of the bowl. Go slowly! You do not want to scramble the whites.
- Once all the sugar syrup has been incorporated, turn the speed to medium-high (Level 8 on my artisan stand mixer) and whip until the bowl is no longer hot to the touch. This can take anywhere from 10-13 minutes.
- Meanwhile, prepare the 3 sticks of butter. If you'd like the buttercream to be as white in color as possible, flavor the butter with either vanilla extract or bean paste and aerate it by mixing it with a hand mixer until soft and fluffy. It should appear brighter and whiter in color.
- Once the egg whites have cooled to room temperature, lower the mixer speed to medium low and drop the butter into the whites a tablespoon at a time. Be sure that each addition is fully incorporated before adding more.
- When all the butter is combined, turn the speed to medium high and whip. The butter and whites will break apart, curdle, collapse, and look totally ruined. This is completely normal! Keep whipping and it will all come back together.
- When you see it starting to emulsify, forming a very thick and tight frosting, remove the whisk and replace it with the paddle attachment. Continue whipping on medium high until you see a beautiful smooth frosting starting to emerge. Turn the stand mixer to low speed to knock out the air bubbles and reveal the silky smooth, gorgeous buttercream of your dreams.
- Italian meringue buttercream can be stored under plastic wrap at room temperature for up to a day, lasting up to 2 weeks in the fridge in an airtight container. You may also freeze it under plastic wrap in a freezer-safe container for up to 6 months.


This is an example of a comment made on a post. You can either edit the comment, delete the comment or reply to the comment. Use this as a place to respond to the post or to share what you are thinking.
This is an example of a nested threaded comment which is new in WordPress 2.7. This is where you can reply to a comment that was previously made, and visually makes reading comments to much easier.
This is an example of a nested threaded comment which is new in WordPress 2.7. This is where you can reply to a comment that was previously made, and visually makes reading comments to much easier.
This is an example of a comment made on a post. You can either edit the comment, delete the comment or reply to the comment. Use this as a place to respond to the post or to share what you are thinking.