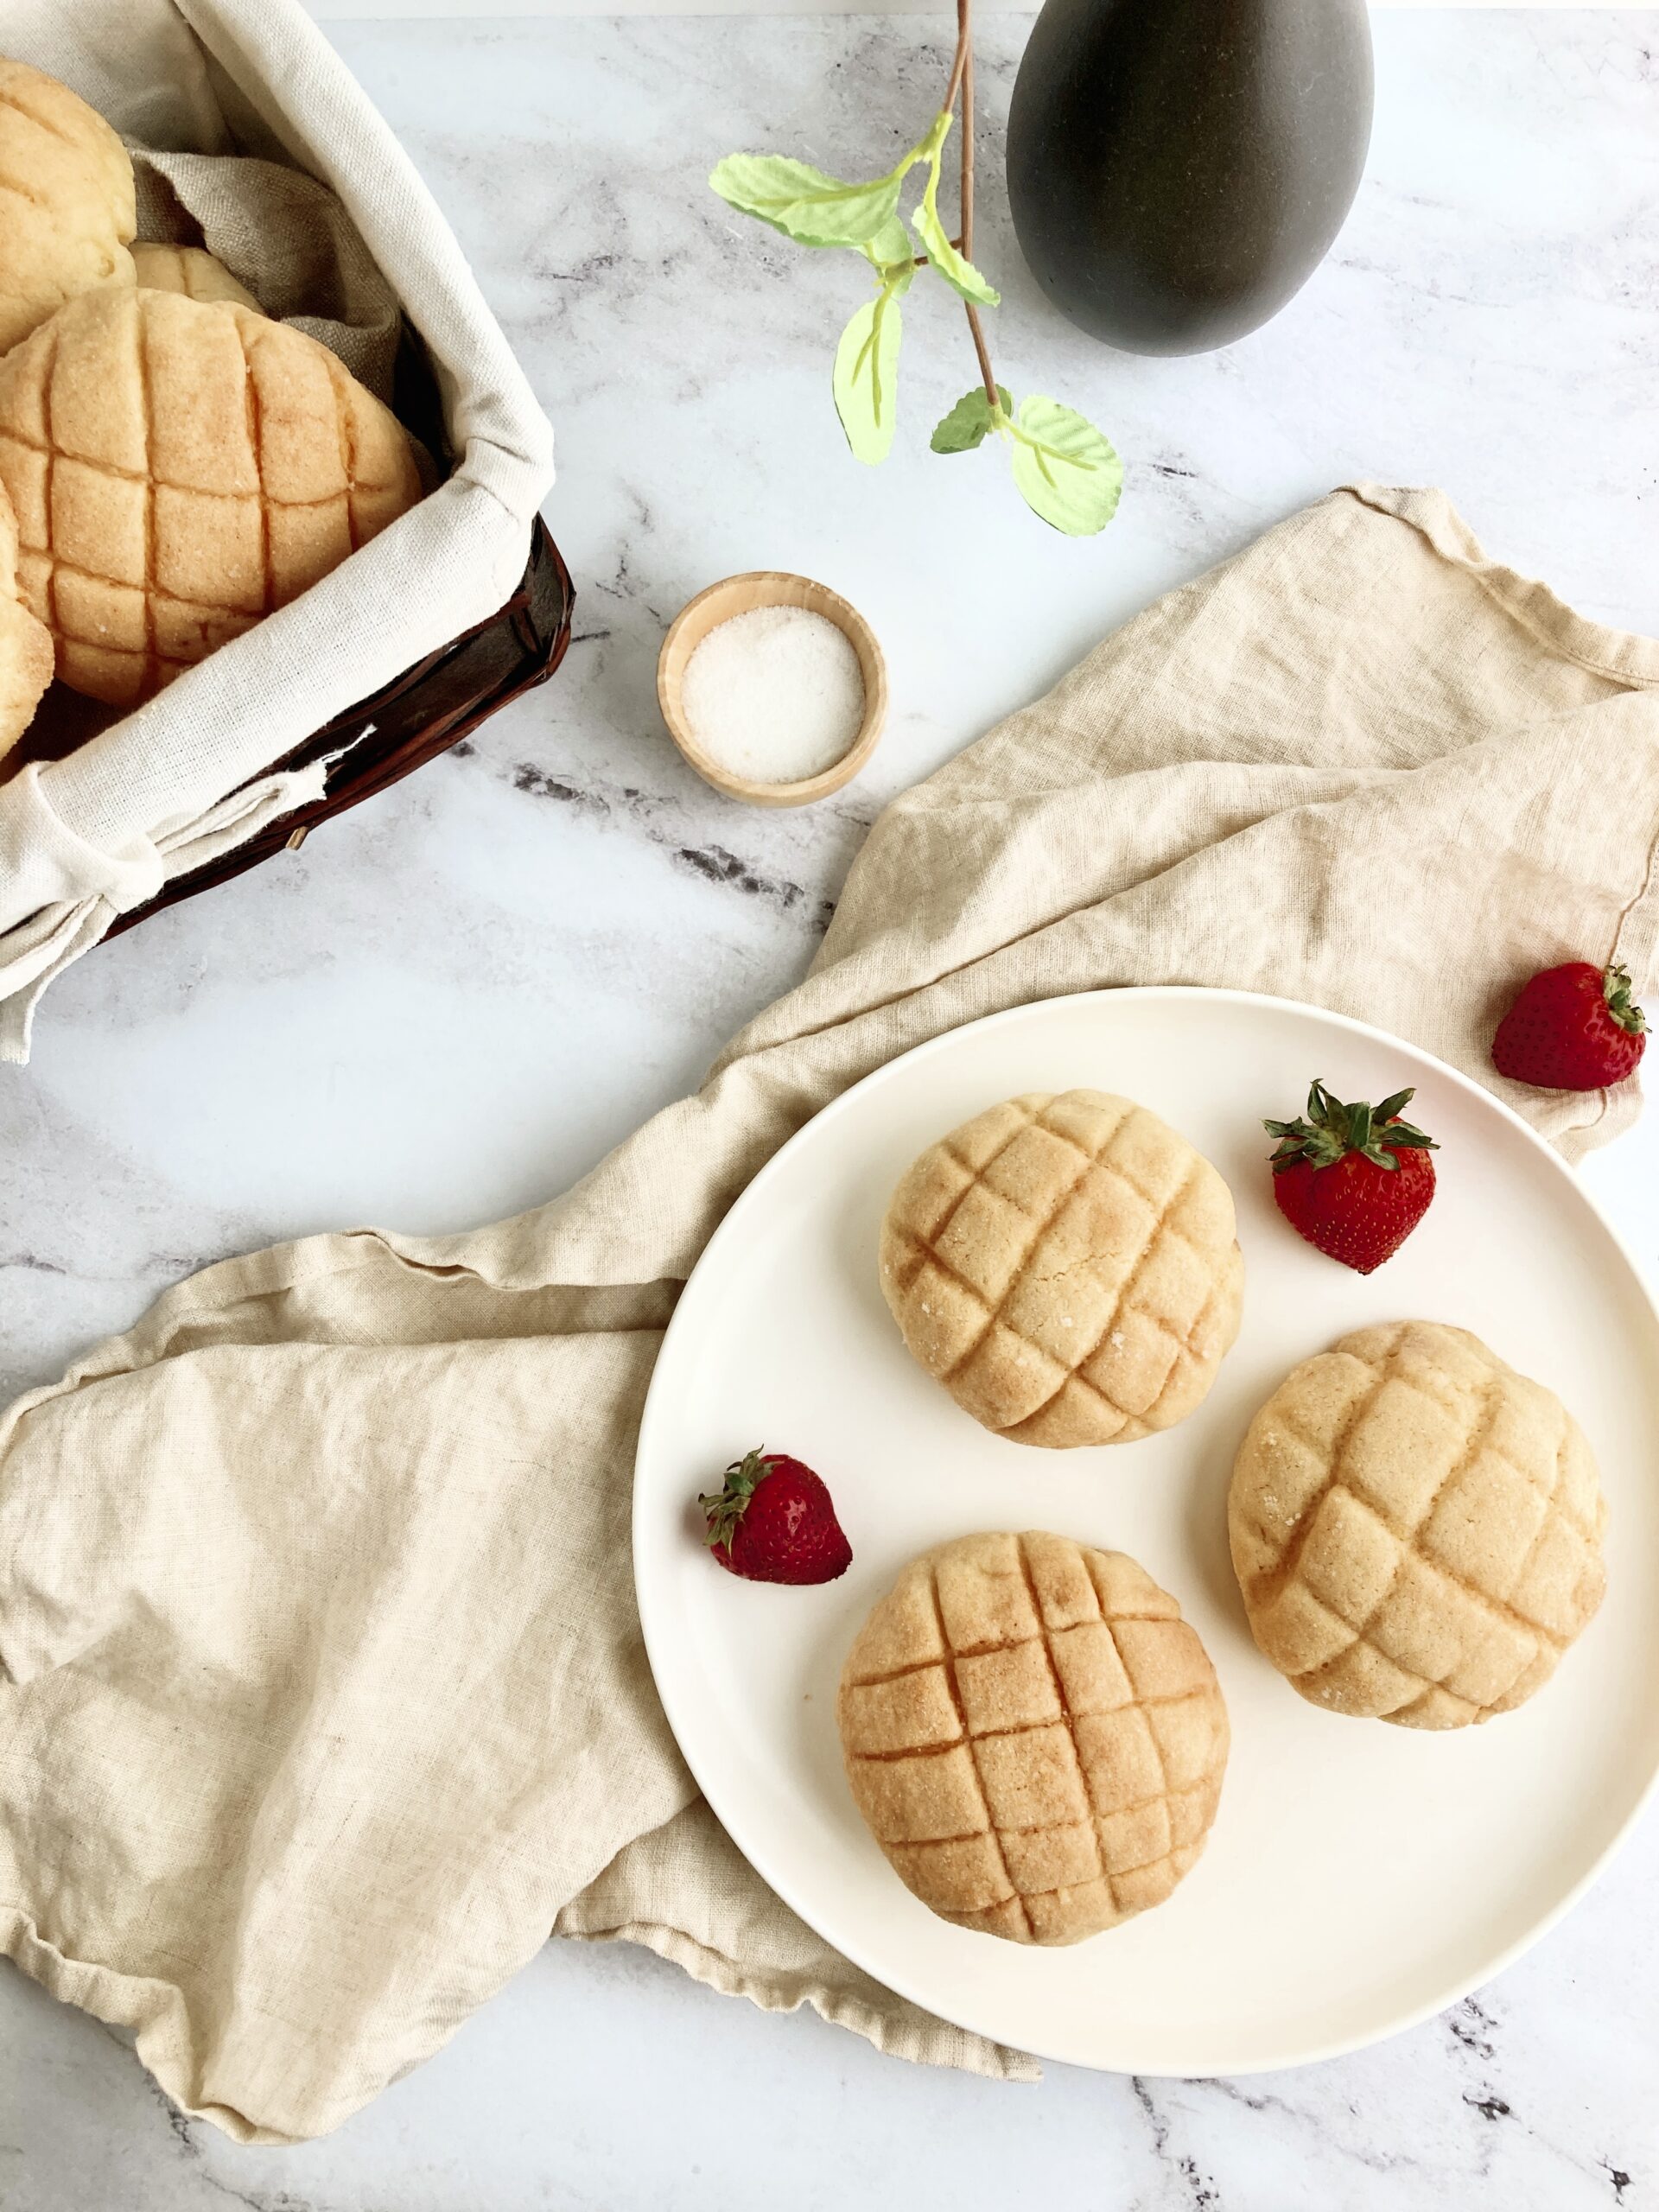
Snickerdoodle Melon Pan
Cinnamon, sugary soft with a slightly crunchy outer exterior. This is the best part of a snickerdoodle combined with your favorite soft and fluffy bread rolls.
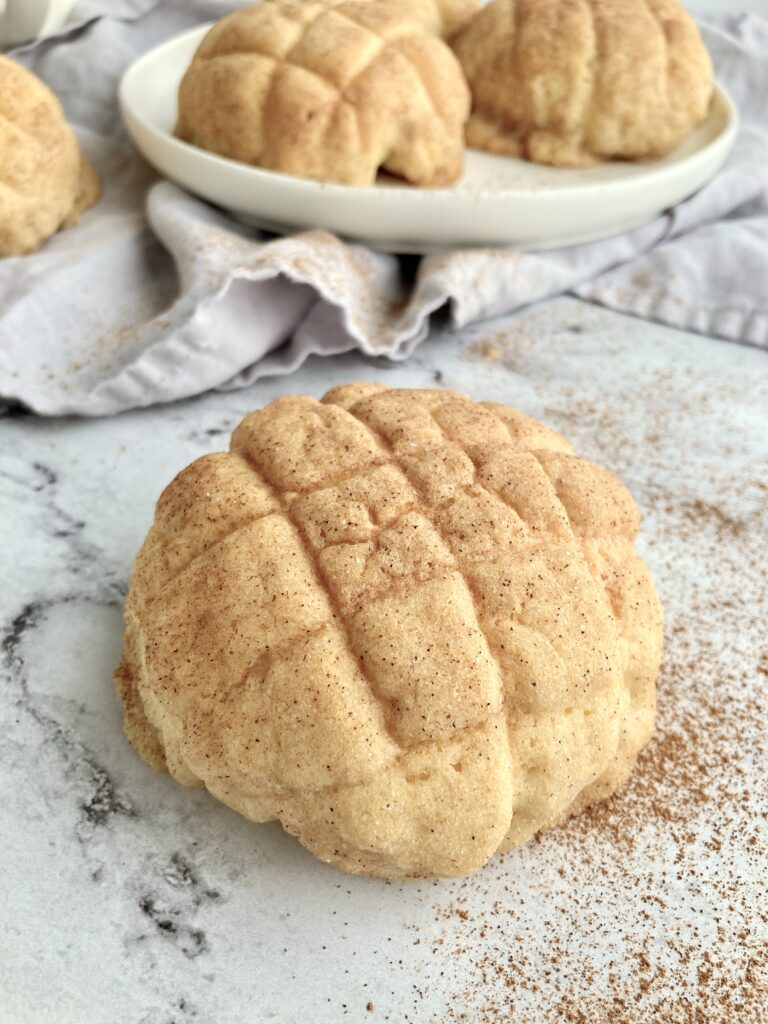
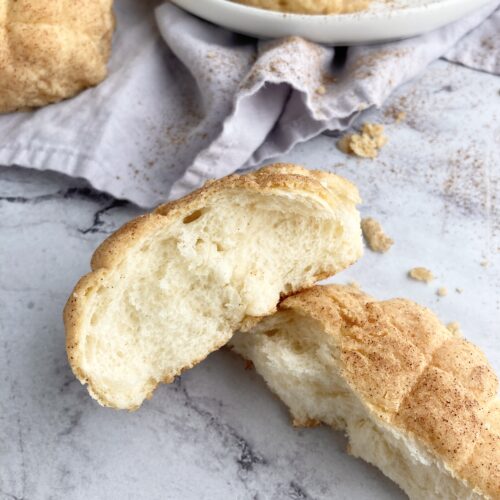
Unlike traditional melon pan, you’ll find the snickerdoodle cookie crust to be a bit more melt-in-your-mouth instead of crispy. It still has a bit of that addictive crunch (depending on how long you choose to bake it) but will fall apart and crumble in your mouth in the best possible way.
If you love snickerdoodles, I encourage you to give it a try!
Hospitality Rating ***
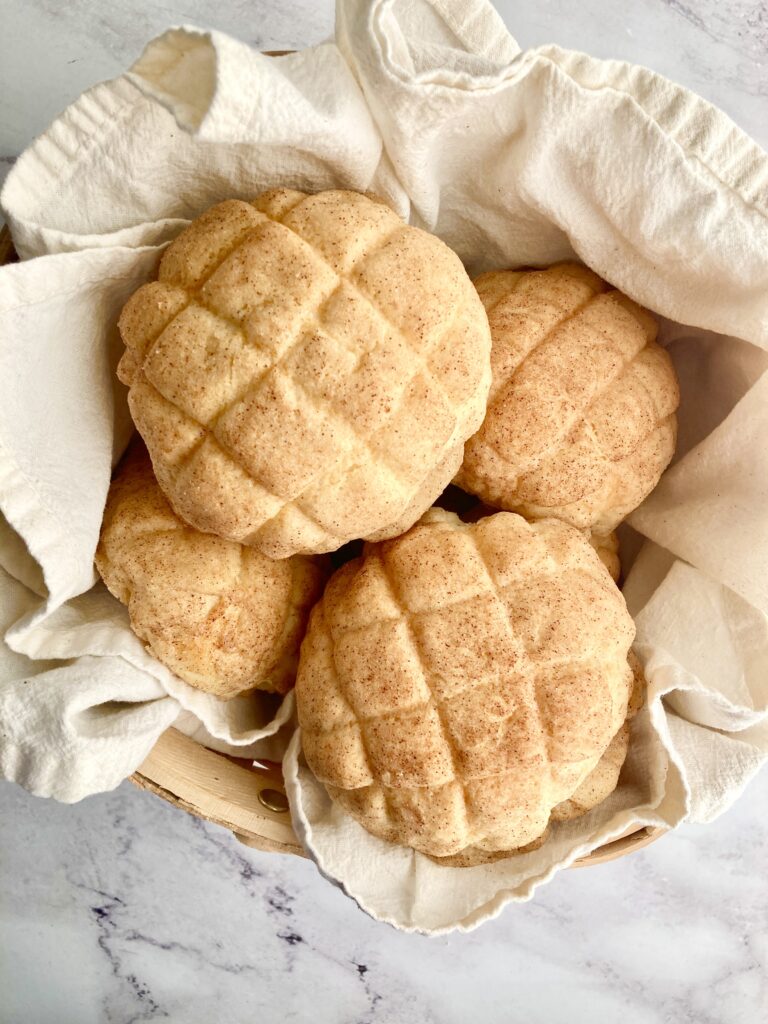
It’s got a bit more “oomph” than your ordinary melon pan, making it a delicious option for holiday gifting.
Gift exchange: Change things up a bit! Instead of banana bread loafs, try snickerdoodle melon pan. I guarantee a unique experience for both you and the giftee.
Potlucks: Got a church potluck coming up? These sweet breads are sure to impress.
Tea time: Grab yourself a friend and a cup of tea and enjoy some snickerdoodle melon pan together.
Snickerdoodle Melon Pan
Equipment
- 1 Stand or hand mixer
Ingredients
- 1 cup + 6tbsp AP flour
- 1 tsp cream of tartar Essential for that iconic snickerdoodle flavor!
- 1/2 tsp baking soda
- 1/4 tsp salt
- 1 stick unsalted butter
- 1/2 tsp vanilla extract
- 1/2 cup granulated sugar
- 1 cup granulated sugar + 1 tbsp ground cinnamon For rolling
Instructions
- Follow the milk bun base until after the first proof, but before the second proof.
- Turn the proofed dough out of the lightly oiled glass bowl and gently punch down to release excess gas.
- Cut and shape the dough into 12 individual dough balls of equal size.
- Cover and let sit at room temperature for 20 mins before the final shaping.
- Alternatively, you can place the dough balls on a tray and leave them covered in the fridge until ready to assemble.
For the snickerdoodle topping
- Put the butter and 1/2 cup sugar in the bowl of a stand mixer fitted with the paddle attachment. Cream until smooth.
- Add egg and vanilla. Mix until combined.
- Slowly mix in AP flour, cream of tartar, salt, and baking soda until well combined. The dough will feel sticky.
- Chill for best results. I recommend pre-shaping the cookie dough into 12 individual balls and placing them in the fridge for 1-2 hours, or in the freezer for 20 minutes if pressed for time.
- Once the cookie dough is thoroughly chilled, start with one ball by taking it out of the fridge and placing it on a piece of plastic wrap. Place a sheet of parchment paper over the top of the ball. Using a rolling pin, roll the dough into a flat disk, then peel off the parchment.
- Place a melon pan bread ball on top of the cookie dough disk, then gently lift the plastic wrap underneath, using it to adhere the cookie dough to the bread dough as best as possible.
- Peel off the plastic wrap. Roll the melon pan ball (cookie side facing down) into your cinnamon sugar mixture generously, before scoring lines into the top of the ball. A plastic bench scraper or the back of a knife will work great.
- Place on a tray and repeat until you have all 12 melon pan.
- Cover the tray with plastic wrap and let proof again until big and puffy, but not doubled in size. (About 45 mins)
- Remove the plastic wrap and place in a preheated oven at 350f for 12-15 minutes until lightly golden. the time will depend on how large you've made your melon pan. To check for doneness, tap the top of the shell with your fingernail. It should feel hard and have a slight hollow sound.
- Let cool and enjoy!