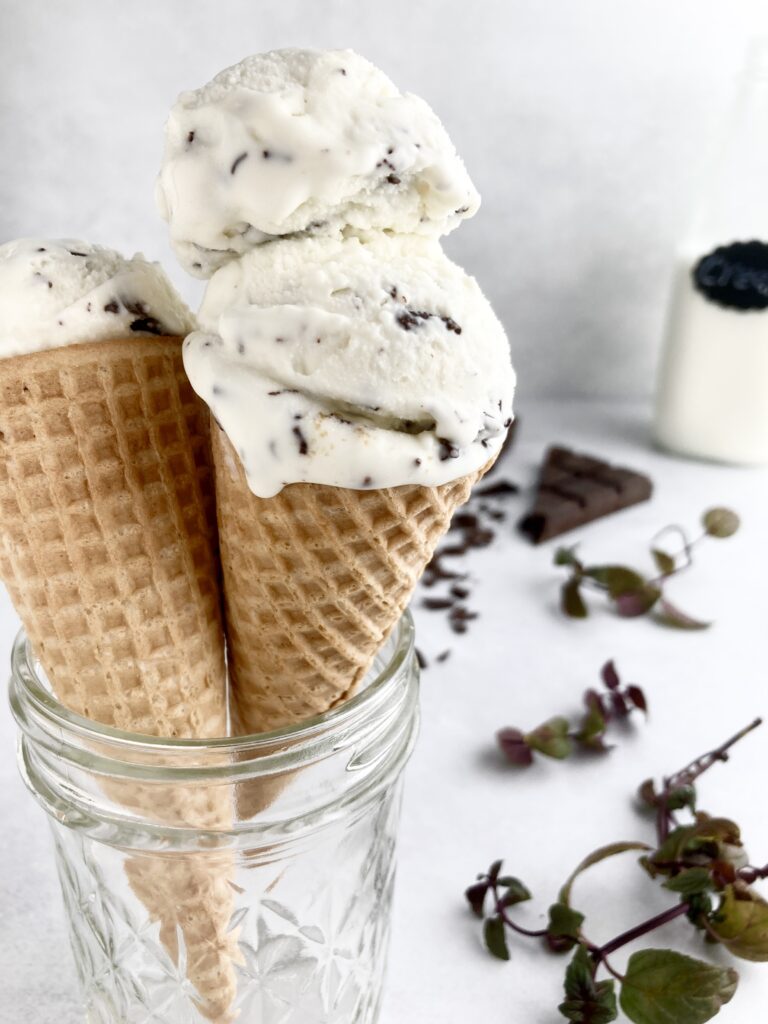
Mint Chocolate Chip Ice Cream (With fresh mint)
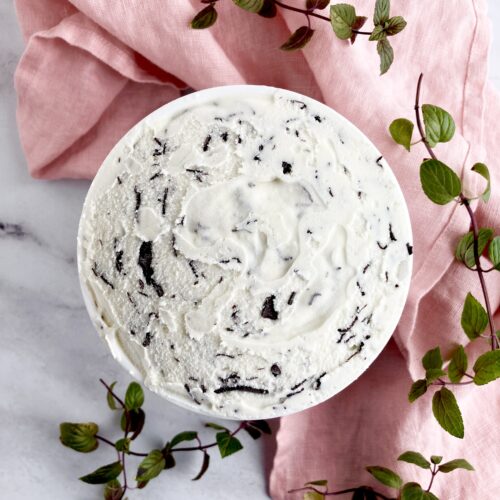
Real mint with dark chocolate shavings in every bite. This is 1.5 quarts of cold and creamy bliss.
The perfect summertime (or anytime) treat.
Mint chocolate chip ice cream is one of my absolute favorite flavors. There’s just something about chocolate and mint. York peppermint patties? Thin mints? Andes mint chocolates? All delicious. If there were only 10 flavors of ice cream in the entire world, Mint chocolate chip ice cream would definitely be on that list.
Made with real mint
Chocolate mint to be exact! Similar to peppermint, chocolate mint has a powerful minty smell that’s just heavenly and unique in the sense that it really does have a hint of chocolate in its aroma. Of course, there’s no actual chocolate in the mint itself, but it sure smells like it. Think of those Andes mints they give you at Olive Garden!
I have two large grow bags full of chocolate mint growing in my backyard, but I understand that you might not. In which case, peppermint will make a lovely substitute! You could grow it yourself or buy it from the store. Mint is relatively inexpensive and highly available. You’ll need at least a full cup of mint leaves for this recipe.
I don’t recommend using Spearmint, however. Your ice cream may end up tasting a little more like toothpaste flavor than the mint chocolate chip ice cream you’ve come to love and expect.
Can you substitute with extract if you have no real mint?
Of course. In fact, this recipe includes just a tiny bit of peppermint extract to balance out the flavor. You may need to up the amount of extract you’re using, but be careful! Too much, and it’ll quickly become overpowering. I’d start with a teaspoon and go from there.
Sicilian method
This recipe uses the same cornstarch method that my prior Vanilla ice cream recipe uses, giving you super creamy, silky ice cream all without the eggs. It’s not quite like a gelato, and not quite like traditional ice cream. In my opinion, it’s the absolute best of both worlds.
What type of chocolate?
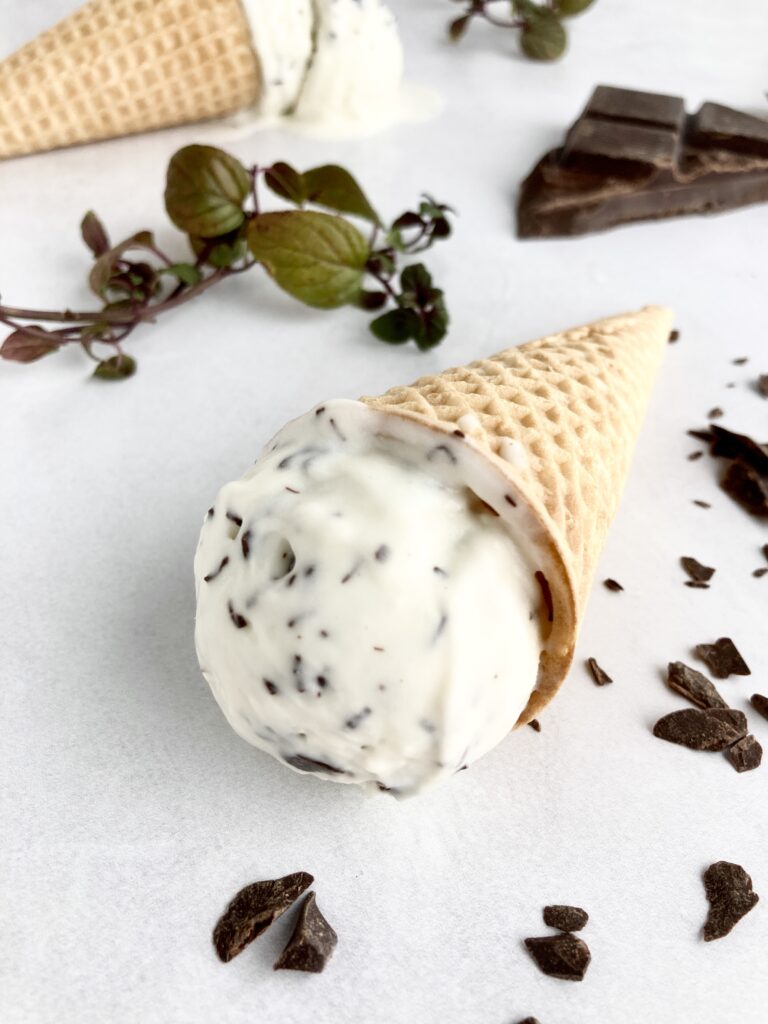
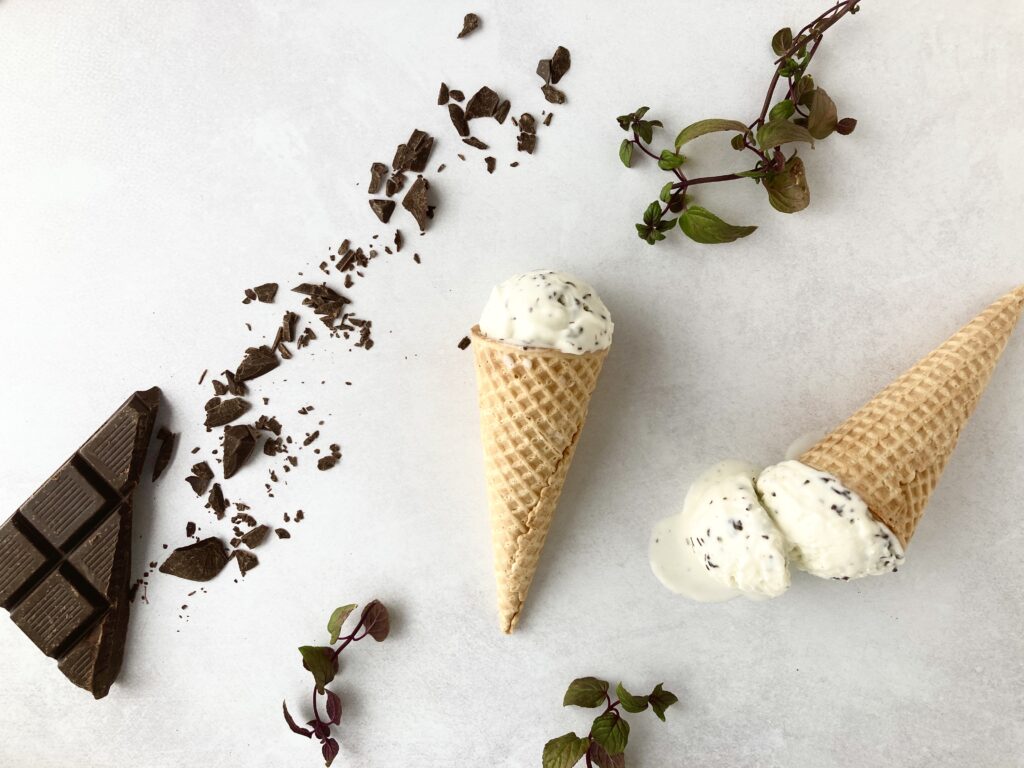
Use at least 60% dark chocolate. For this recipe, I’m using 72%. I wouldn’t recommend going higher than 72% or lower than 60%. Any good high quality chocolate will do. I love buying those huge dark chocolate bars from Trader Joes! You’ll need at least 4oz for this recipe. Whatever chocolate you use, keep in mind that it will need to be melted. I’d suggest staying away from chocolate chips as they tend to be a little waxy. They never melt as smoothly for me either. 🙁
Don’t forget the oil!
Make sure to put a little oil in with your chocolate before melting. I like to use the double boiler method (bain-marie). This requires chopping the chocolate into fine shavings, then putting those shavings into a heat-proof glass bowl. From there, I stir the chocolate over a saucepan of steaming hot (not boiling) water until completely melted. I find it’s much more consistent in completely melting the chocolate this way.
The oil plays a very important role in lowering the melting point of the chocolate, making it soft and smooth and a little “snappy” instead of hard and gritty when it touches the super cold ice cream. Think of a “magic shell” effect. Drizzle the melted chocolate over the fully churned ice cream in short bursts, pausing to stir it in before adding more. This is how you get those wonderful bits of chocolate in every bite.
Chill time
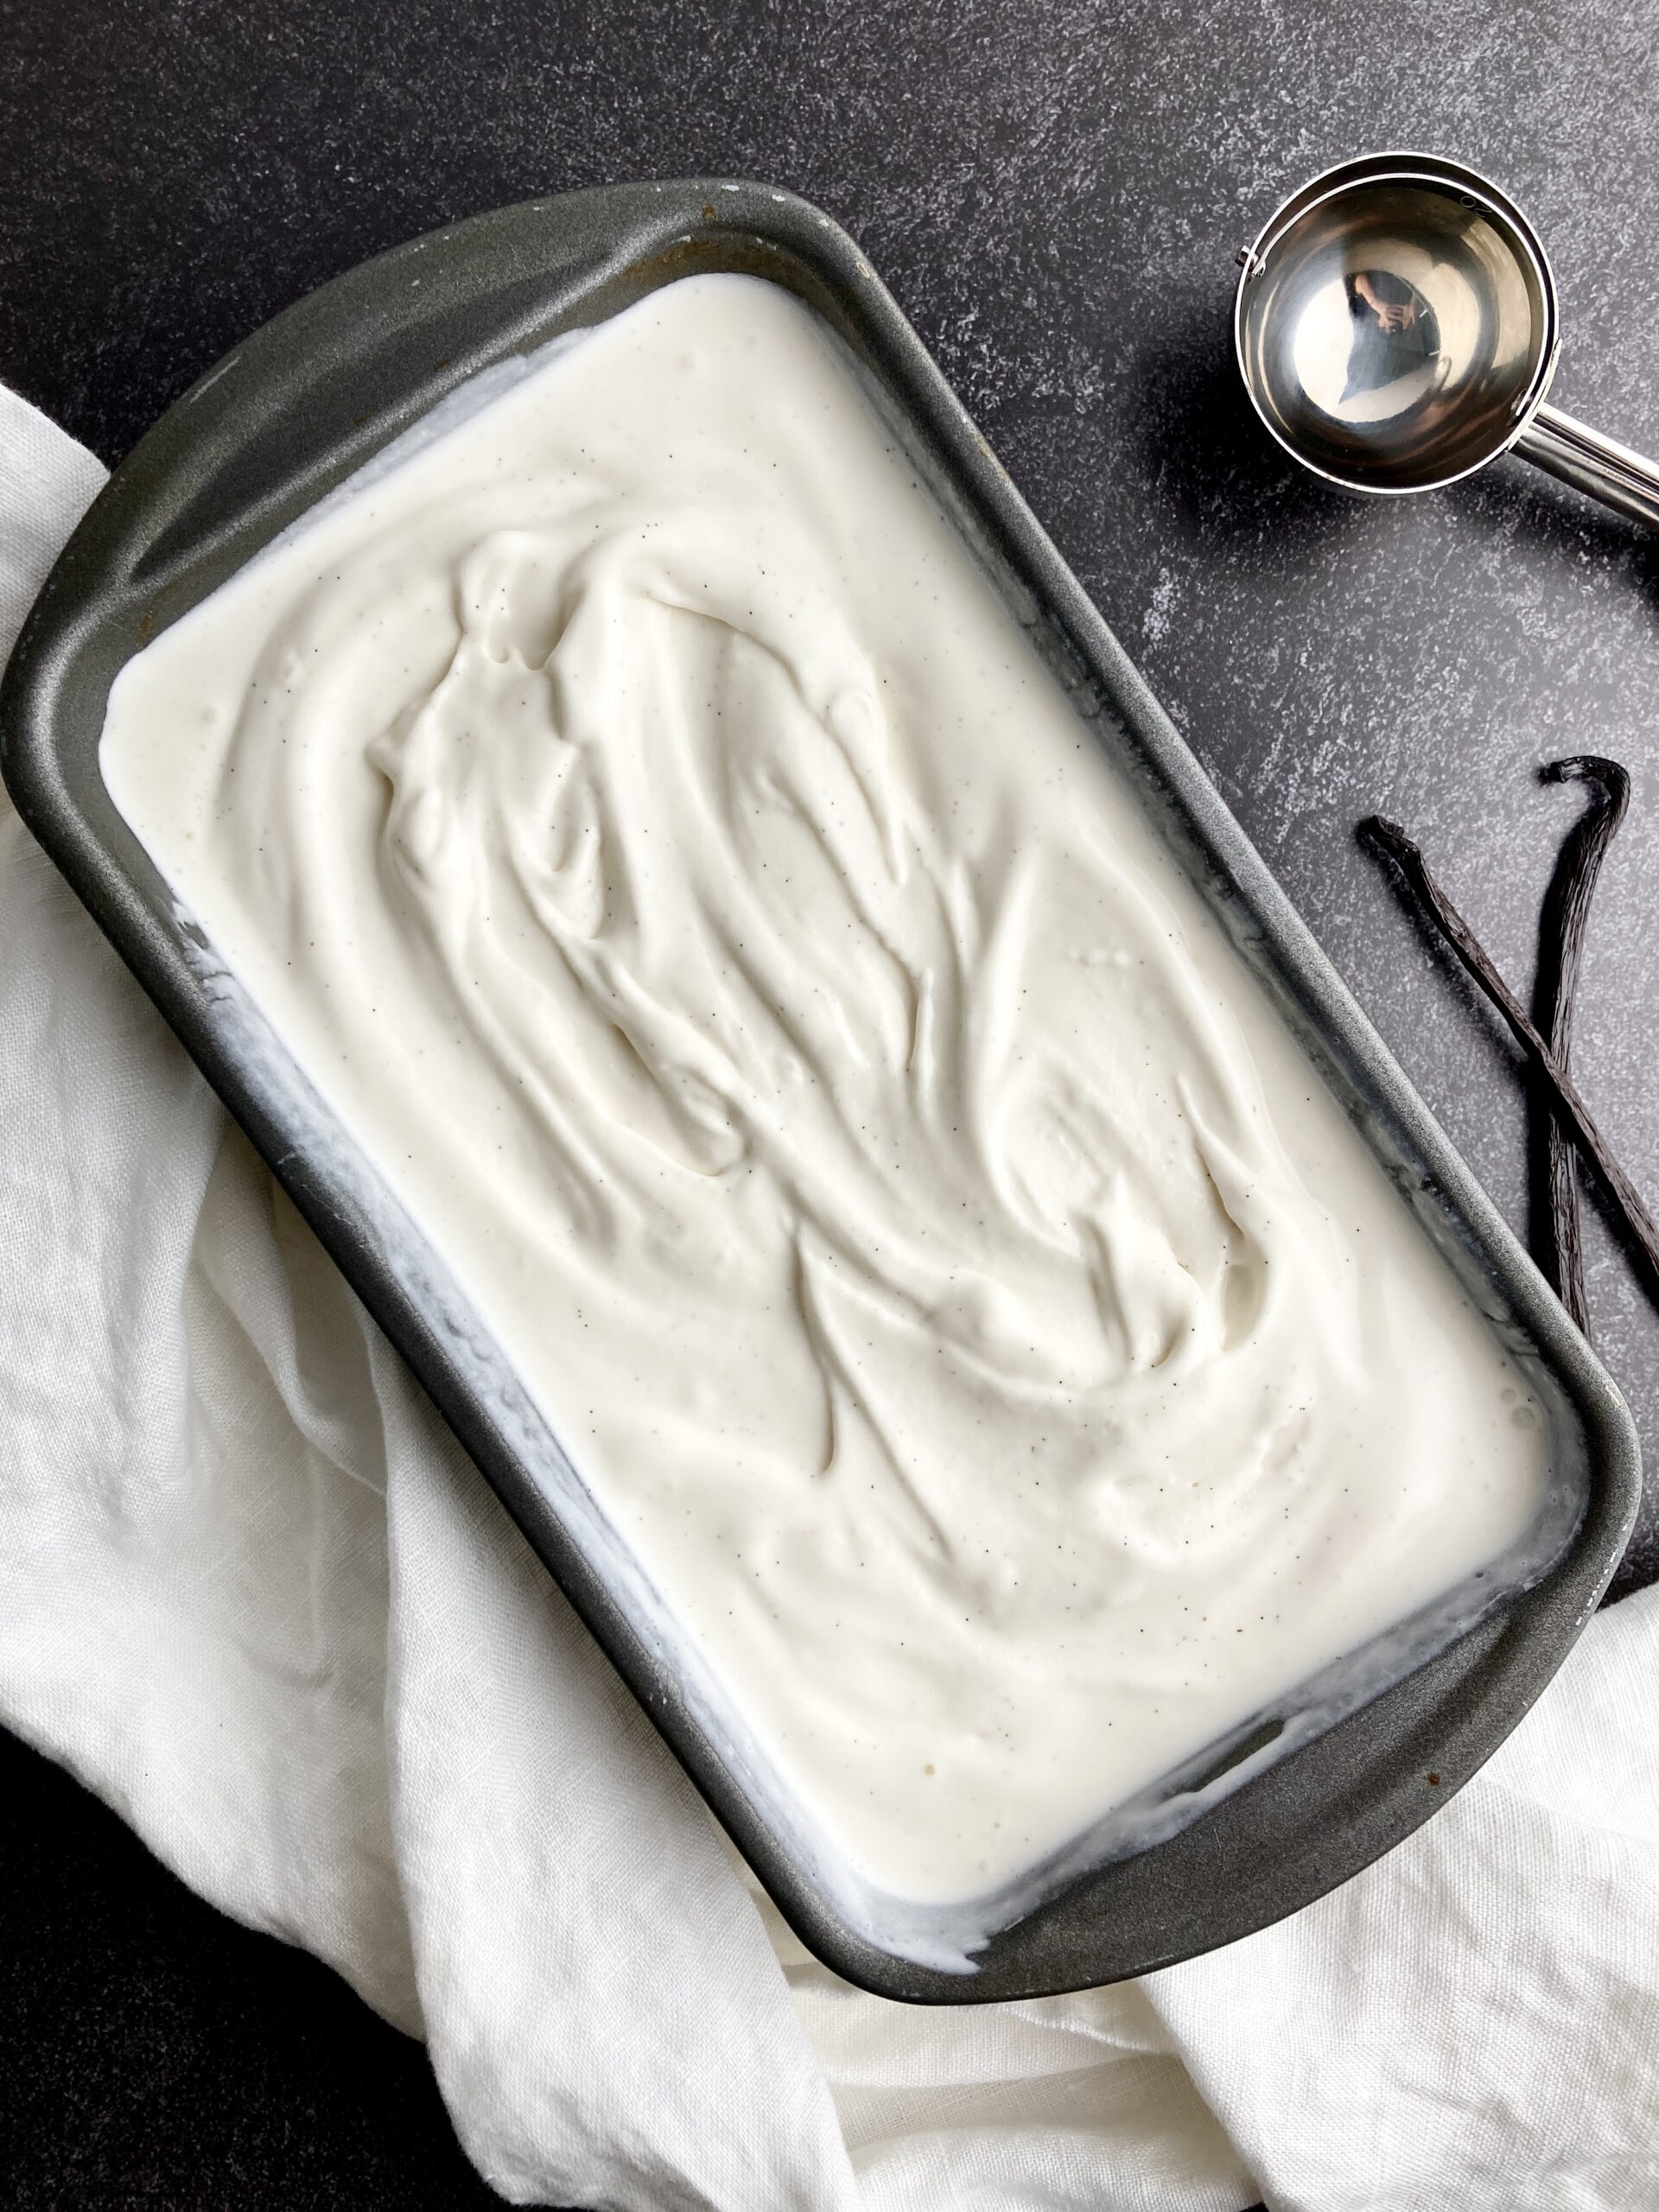
As with all my ice cream recipes, your base needs to be cooked first over the stove, then left in the fridge (covered with the plastic wrap touching the cream) before pouring into your ice cream maker to churn. Aim for at least 8 hours for best results!
This allows the fats in the ice cream to fully homogenize, giving you super creamy ice cream instead of icy, slightly chalky ice cream. Make sure the cream is cold! Well below 40 F before churning.
And with that, we’re ready to get started. 🙂
Mint Chocolate Chip Ice Cream (With real mint)
Print RecipeEquipment
- 1 Ice Cream Maker I use a kitchenAid attachment
Ingredients
- 2 1/2 cups Heavy cream
- 2 cups Whole milk
- 3 tbsp Cornstarch
- 1/4 tsp Salt
- 1 cup Granulated sugar
- 4 oz Dark chocolate
- 2 tsp Oil I use light tasting olive oil
Instructions
- Pour heavy cream and whole milk into a medium saucepan and heat to 150 degrees Fahrenheit.
- Add in 1-2 whole cups of mint leaves, give a light stir, then cover the saucepan with the lid and let the mixture steep for 2 hours.
- Strain out the leaves and pour the mixture back into the saucepan. Begin heating to 150F once again.
- Meanwhile, add sugar, cornstarch, and salt to a large, heatproof glass bowl and stir with a whisk to combine.
- Once the milk mixture is heated, pour a splash of it into the sugar bowl and stir until smooth. Make sure no lumps of cornstarch are left behind.
- Keep adding splashes of cream, pausing to stir in between, until there's about half of the cream left in the saucepan. The goal is to help the sugar/cornstarch mixture assimilate with the rest of the cream.
- Pour the now smooth and thinned sugar and cream mixture into the saucepan with the rest of it. Turn the heat to medium low.
- Stir continuously with a whisk until the mixture starts to gently rise and thicken. This should take anywhere from 3-5 minutes. Do not let it boil or the cream will curdle! 🙁 The mixture is done when it resembles a thin pudding and a tail begins to form behind the whisk.
- Immediately remove from heat and pour into a large glass heatproof bowl. Add 1/4 tsp of peppermint extract and stir to combine.
- Cover the bowl with plastic wrap, making sure to touch the cream with the plastic. This will prevent a skin from forming.
- Place in the fridge for 8 hours or overnight until the cream is completely cold. (The longer it sits, the deeper the flavors will meld, and the creamier your ice cream will be.)
- Once ready to churn, pour ice cream into your ice cream maker. Set it to 'stir' if using a Kitchenaid stand mixer and let it go for about 10 minutes.
- Meanwhile, add 2 tsp of oil to your chocolate shavings and melt in a glass bowl over a double-boiler. Stir slowly and consistently until completely melted. Set aside.
- The cream is done when it looks thick with very large lumps swirling in the bowl. If using a kitchenaid mixer, it will be touching the attachment holding the churning device and have ice cream circling around the outer edges. Stop here.
- Dip a spatula into your chocolate and drizzle over the ice cream, stir using a separate spatula, then repeat the process until you've used all of the chocolate. The ice cream should now have plenty of beautiful chocolate shavings scattered throughout.
- Scoop into a 1 or 1.5qt airtight container and place in the freezer. Depending on what size you've chosen you may have some ice cream leftover. Enjoy!