Super Silky Vanilla Bean Ice Cream
Today I bring to you the creamiest, silkiest vanilla ice cream you might ever place your tongue upon.
Behold.
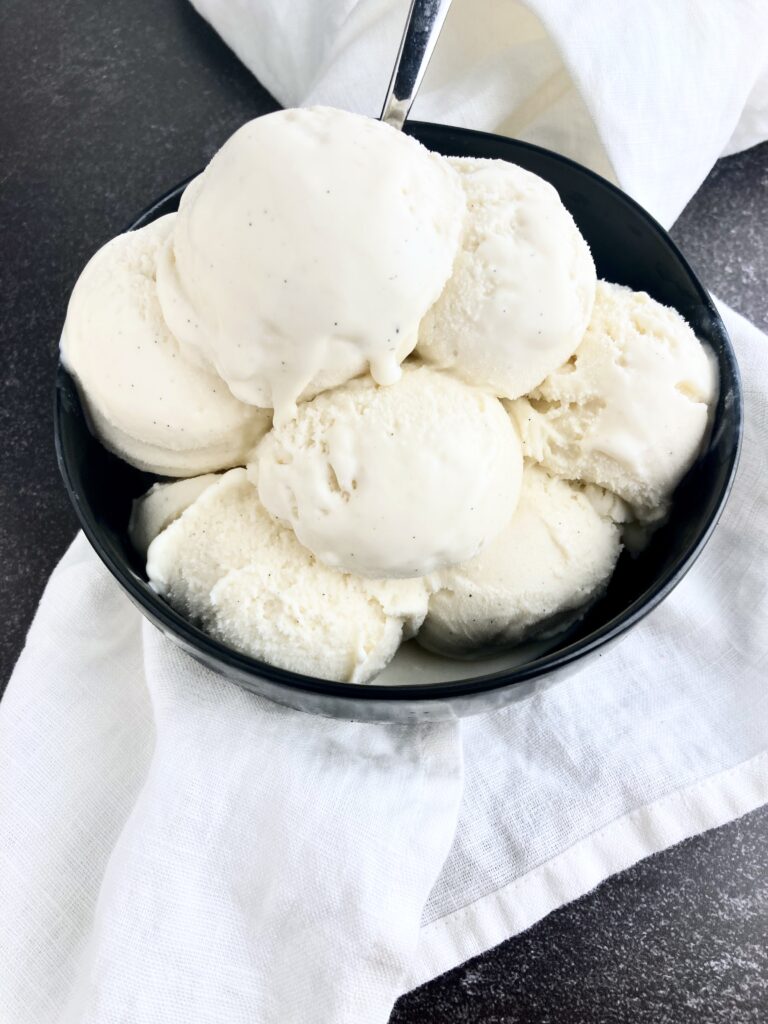
Creamy, silky, and super rich. This ice cream is uniquely flavorful, thick and dense like a gelato, yet completely smooth and silky like a traditional American ice cream. It’s all incredibly easy to make and involves no custard. Yes. You heard that right. No eggs. You could be in the middle of an apocalypse where all the chickens have been removed from the earth, and you could still make the best ice cream of all time.
How?
Cornstarch
The addition of cornstarch is what sets this ice cream apart from traditional gelato and American ice cream. It’s a special Sicilian method that uses starch to not only thicken the ice cream, but give it that irresistibly smooth, silky consistency that’s unlike any ice cream you might have had.
Will it still be as flavorful without eggs?
Absolutley. I would argue it’s even richer and more flavorful without the use of eggs. Use high quality vanilla bean paste and extract for an incredible burst of flavor. And don’t forget the salt!
Will you taste the cornstarch?
Absolutely not.
How does it freeze?
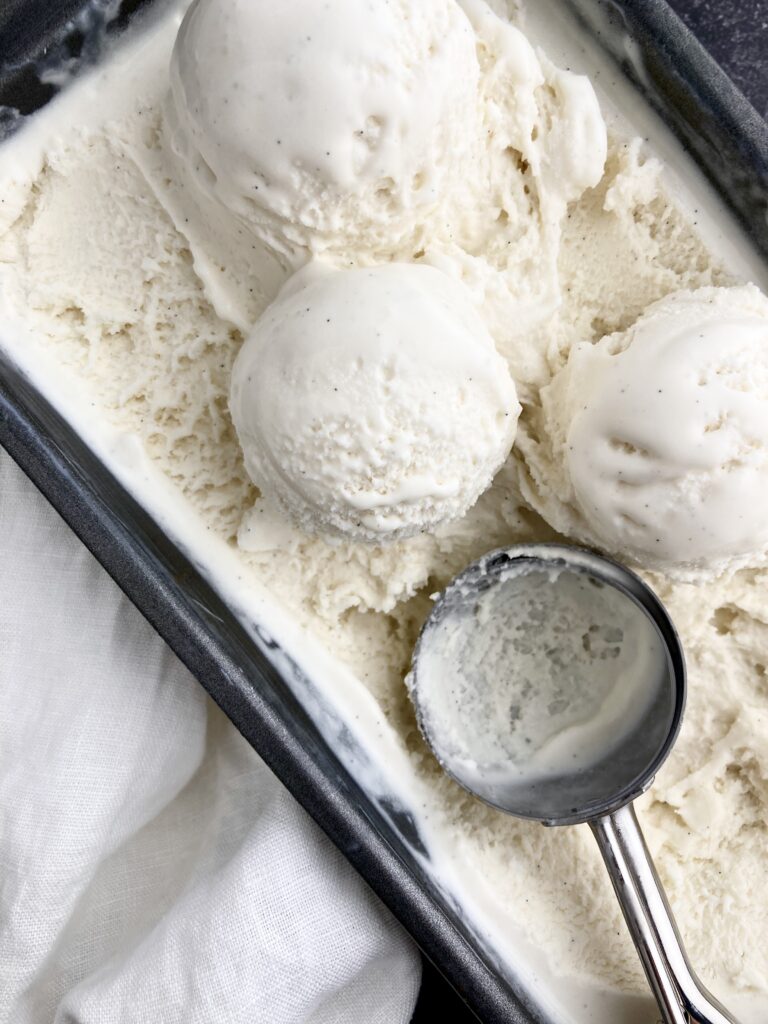
This might not seem like an important question, but it is. When it comes to scooping, some ice creams are rock hard and impossible to scoop. Not this one. It freezes perfectly – neither too hard, nor too soft – and you’ll find that it’s a breeze to scoop as soon as its pulled from the freezer. Another fabulous perk of using cornstarch!
Before getting started
You’ll need an ice cream maker of some kind. I use a Kitchenaid ice cream maker that attaches straight to my stand mixer. One of the pricier attachments that I own, yet it’s been a fantastic investment that’s still cheaper than a lot of the great quality ice cream makers on the market. It’s also super easy to use and clean. I highly recommend getting one!
The directions in this recipe will be based on using the Kitchenaid attachement. If you have a different kind of ice cream maker, it might be a bit of a learning curve. All in all, I recommend going by look instead of what the manufacturer’s instructions say.
How will you know when it’s done churning?
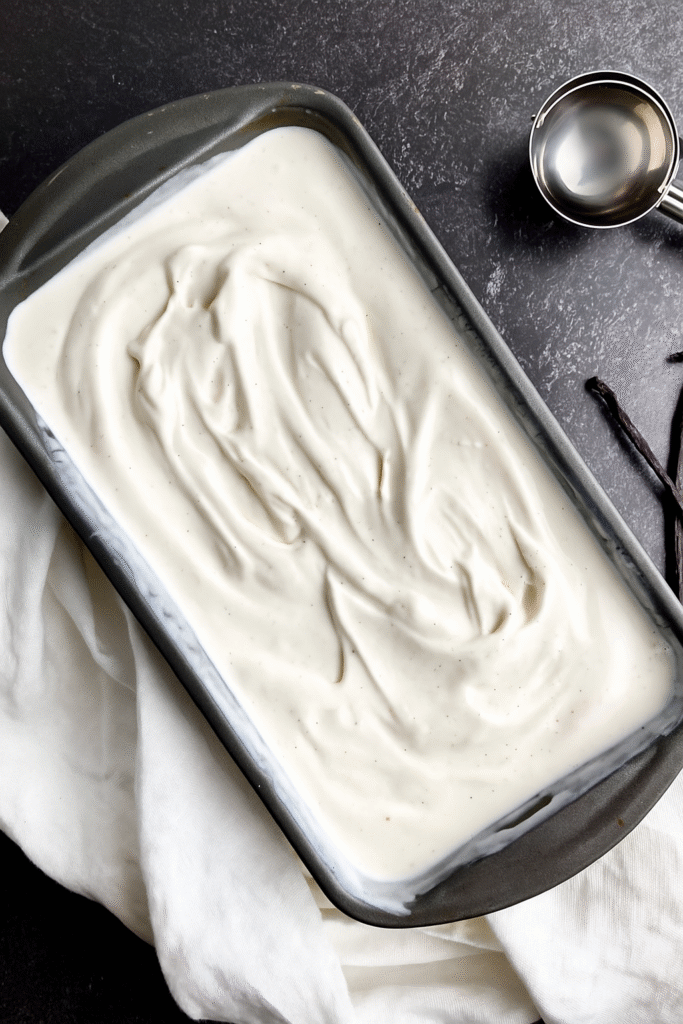
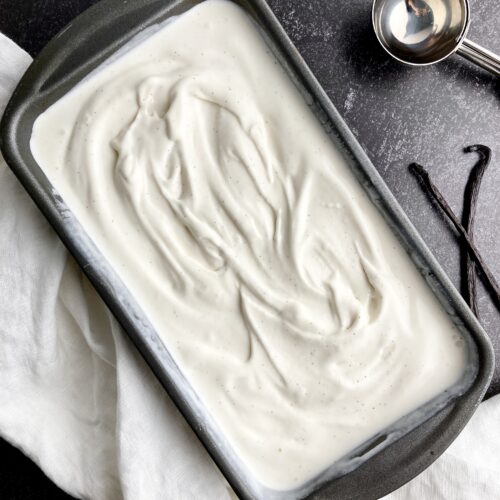
Your ice cream will get real thick. You’ll have these massive lumps swirling around in the maker and there will be a ring of ice cream forming around the top of the bowl. It usually takes around 10 minutes to achieve this state. I typically stop here.
Chill first!
Regardless of what kind of maker you have, or how long you need to churn, the ice cream base must first be cooked over the stove and then chilled for several hours. The temperature of the cream should reach below least 40 degrees F before being churned.
For best results, I recommend waiting 8 hours or overnight. The longer the cream chills, the better the fats will homogenous with the starch, making it extra creamy and flavorful.
Super Silky Vanilla Bean Ice Cream
Print RecipeEquipment
- 1 Ice Cream Maker I use the Kitchenaid attachment
Ingredients
- 2 1/2 cups Heavy cream
- 2 cups Whole Milk I use Fairlife
- 3 tbsp Cornstarch
- 1/4 tsp Salt Very filled
- 1 cup Granulated sugar
- 1 tbsp Vanilla bean paste
- 1 tsp Vanilla extract
Instructions
- Add sugar, cornstarch, and salt to a large, heatproof glass bowl and stir with a whisk to combine.
- Pour heavy cream and whole milk into a medium saucepan and heat to 150 degrees Fahrenheit.
- Once heated, pour a splash of the hot milk and cream mixture into the sugar bowl and stir until smooth. Make sure no lumps of cornstarch are left behind.
- Keep adding splashes of cream, pausing to stir in between, until there's about half of the cream left in the saucepan. The goal is to help the sugar/cornstarch mixture assimilate with the rest of the cream.
- Pour the now smooth and thinned sugar and cream mixture into the saucepan with the rest. Turn the heat to medium low.
- Stir continuously with a whisk until the mixture starts to gently rise and thicken. This should take anywhere from 3-5 minutes. Do not let it boil or the cream will curdle! 🙁 The mixture is done when it resembles a thin pudding and a tail begins to form behind the whisk.
- Immediately remove from heat and pour into a large glass heatproof bowl. Add 1 tbsp vanilla bean paste and 1 tsp vanilla extract and stir to combine.
- Cover the bowl with plastic wrap, making sure to touch the cream with the plastic. This will prevent a skin from forming.
- Place in the fridge for 8 hours or overnight until the cream is completely cold. (The longer it sits, the deeper the flavors will meld, and the creamier your ice cream will be.)
- Once ready to churn, pour ice cream into your ice cream maker. This style of ice cream takes a lot less time to churn than traditional ice cream. I find it's usually done around 10 minutes. The cream should look thick with very large lumps. If using a kitchenaid mixer, it will be touching the attachment holding the churning device and have ice cream circling around the outer edges.
- Stop the machine and immediately scoop ice cream into a quart-sized freezer container. It will have a soft-serve consistency until frozen. You will have some leftover for your immediate enjoyment. 🙂